
How to write a Script Action script
Examples: asana-examples/script-actions-examples
1. Installing the Scripts by Asana application
In order to start using Script Actions, you must first install the Scripts by Asana app:
- Open up any project
- Navigate to Customize > Rules > Create custom rule. This will take you to the project's rule builder page
- Navigate to + Do this… > External actions > Run script > Connect to Scripts by Asana
- A new tab will open, displaying the Grant Permission page for the app. Click on Allow
- You have successfully installed Scripts by Asana and are now ready to start creating automation rules with Script Actions
2. Setting up a Script Action rule
- Open the project where you would like to setup a Script Actions rule
- Navigate to Customize > Rules > Create custom rule. This will take you to the rule builder page where you can setup your rule
- For the purpose of this guide, let's create a simple rule. Go ahead and select the + When… card
- Select Task is assigned trigger
- Click on the x button on the Check if… card
- Select the Do this… card
- Navigate to the External actions tab > Run script. This will open the script editor, where you can begin writing your script
- For now, let’s leave the default script content and publish the rule. Click on the Publish rule button
3. Writing a Script
In the previous section, we published a rule using the default script provided by Scripts by Asana. In this section, we will write our own script to replace the default one.
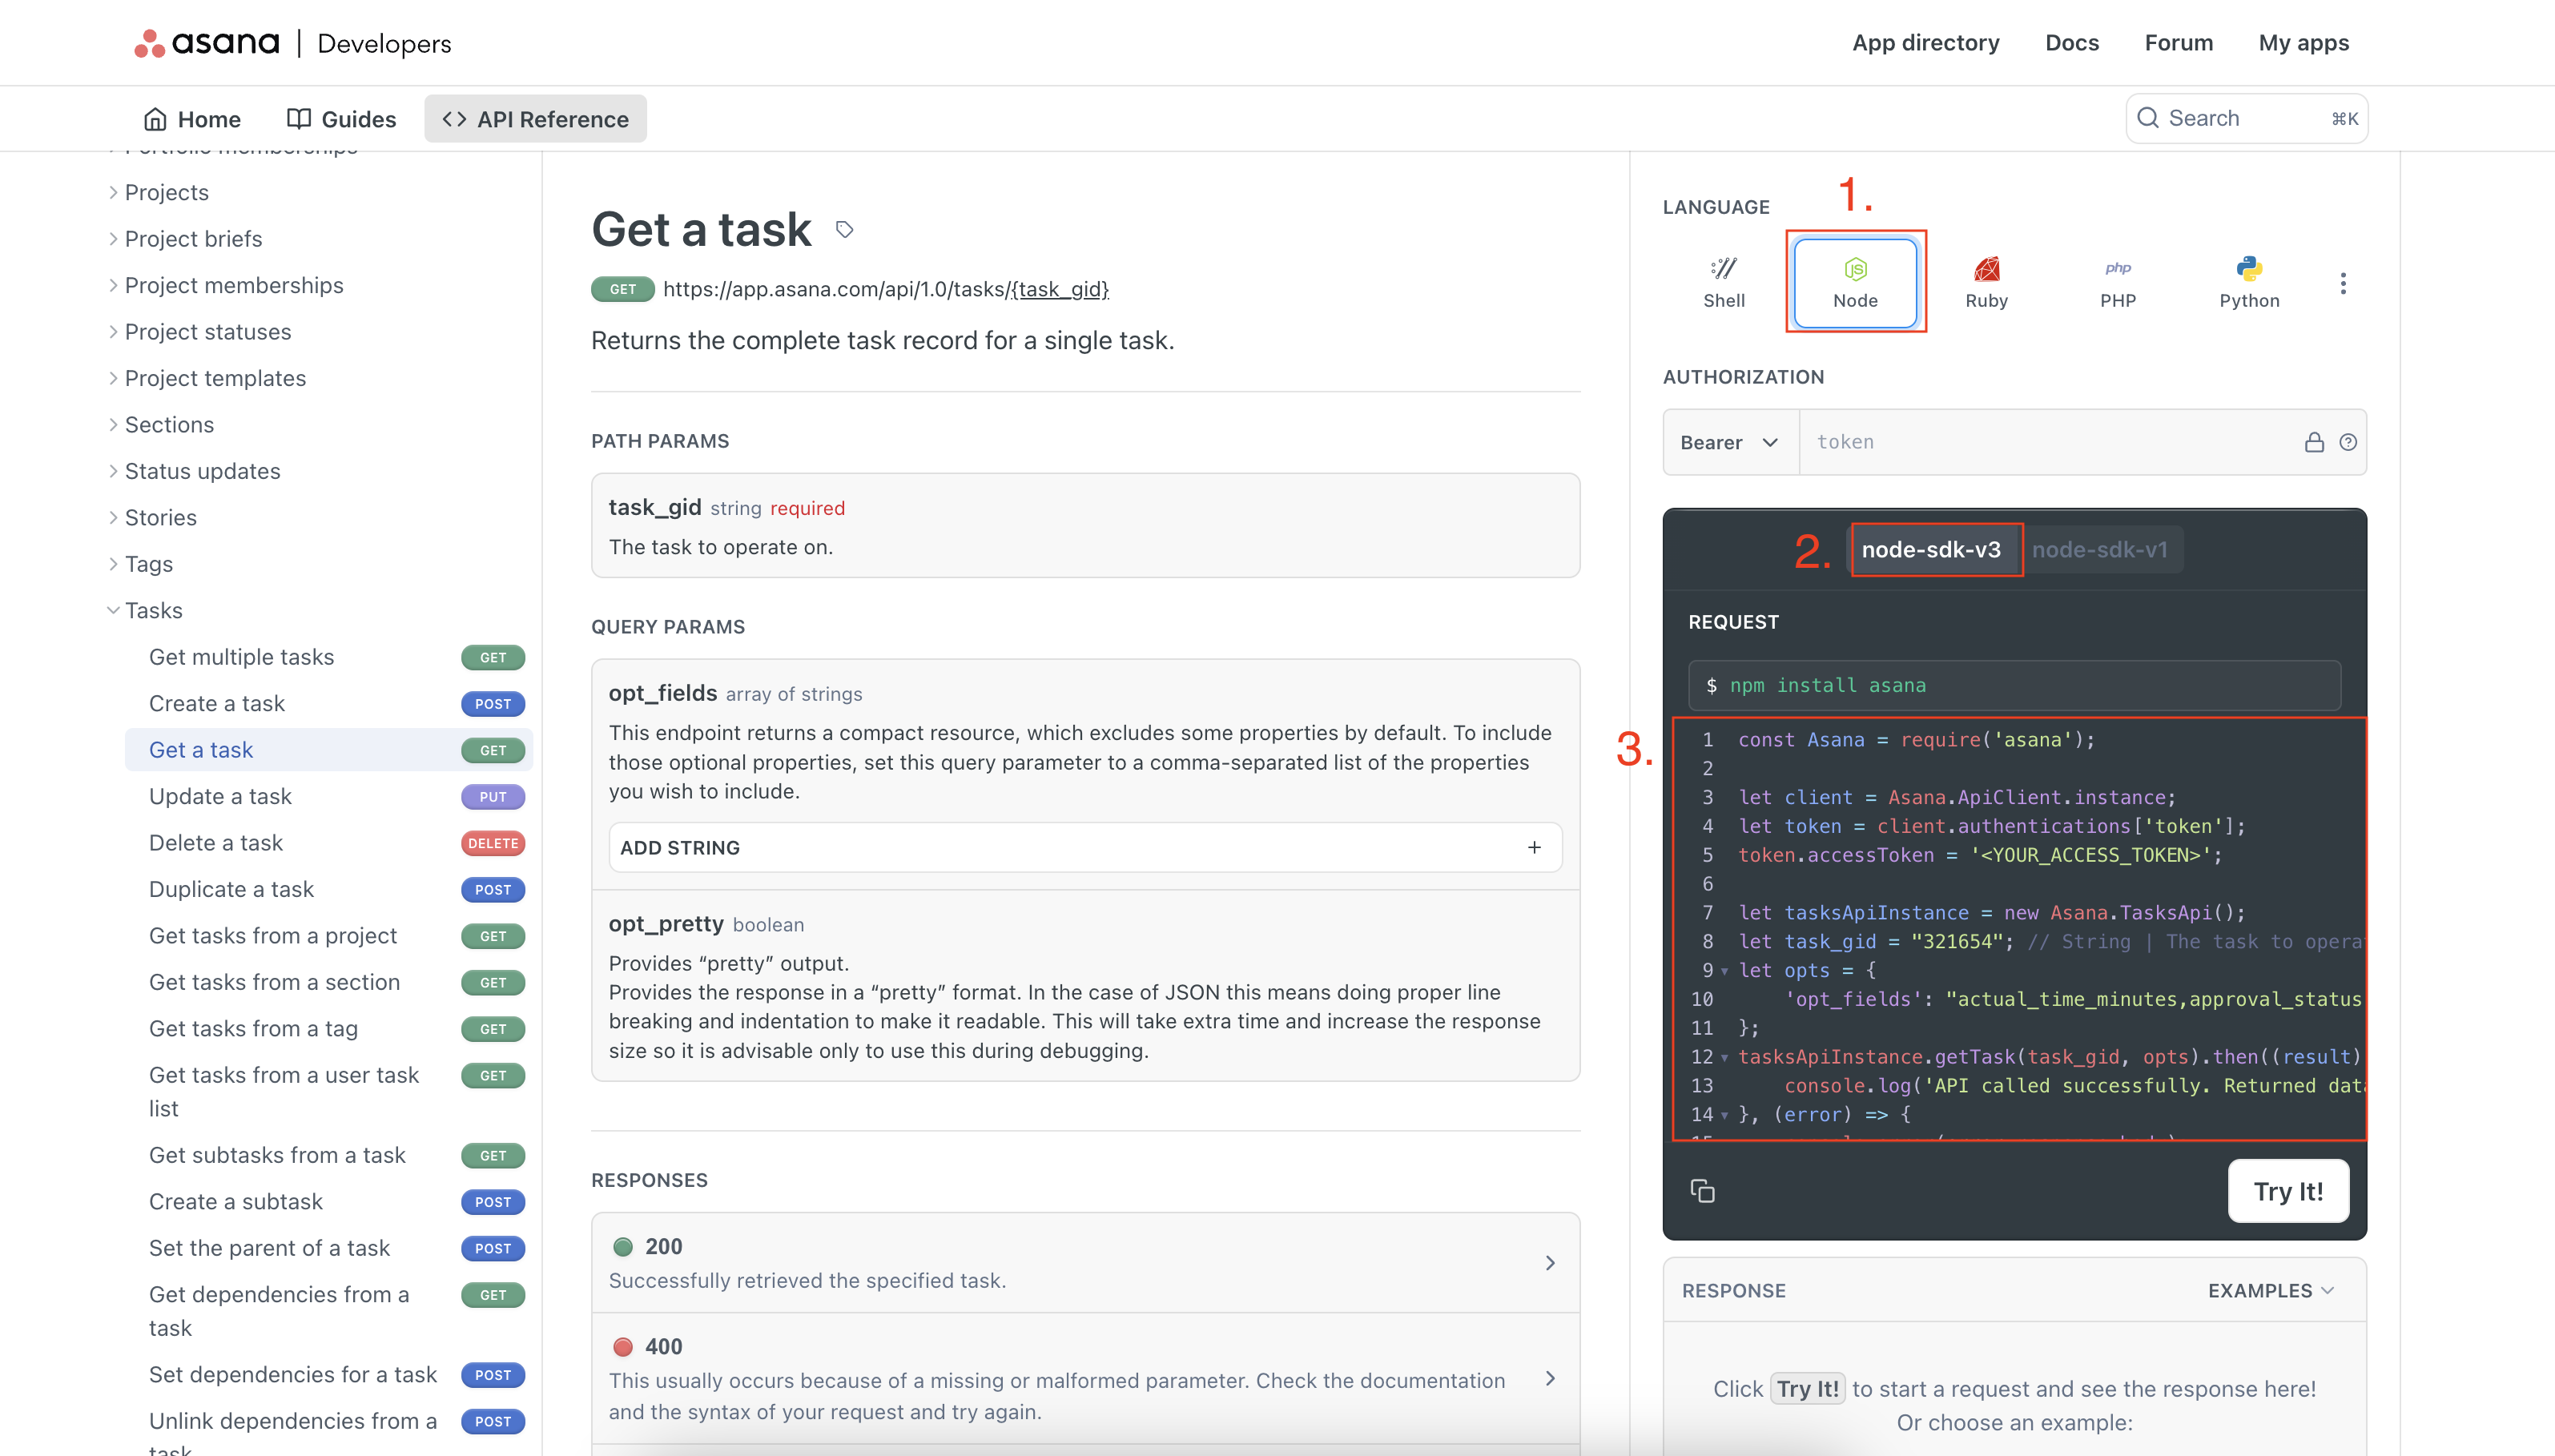
Scripts written for Script Actions use the node-asana (v3.X.X) client library to make API calls to Asana. While writing your scripts, you can reference the node-asana (v3.X.X) sample code of an endpoint by going to Node > node-sdk-v3
Provided VariablesBy default, Script Actions provides the following variables to your script on each run:
project_gid,task_gid,workspace_gid. This means that you can simply reference these variables in your script without needing to define them.
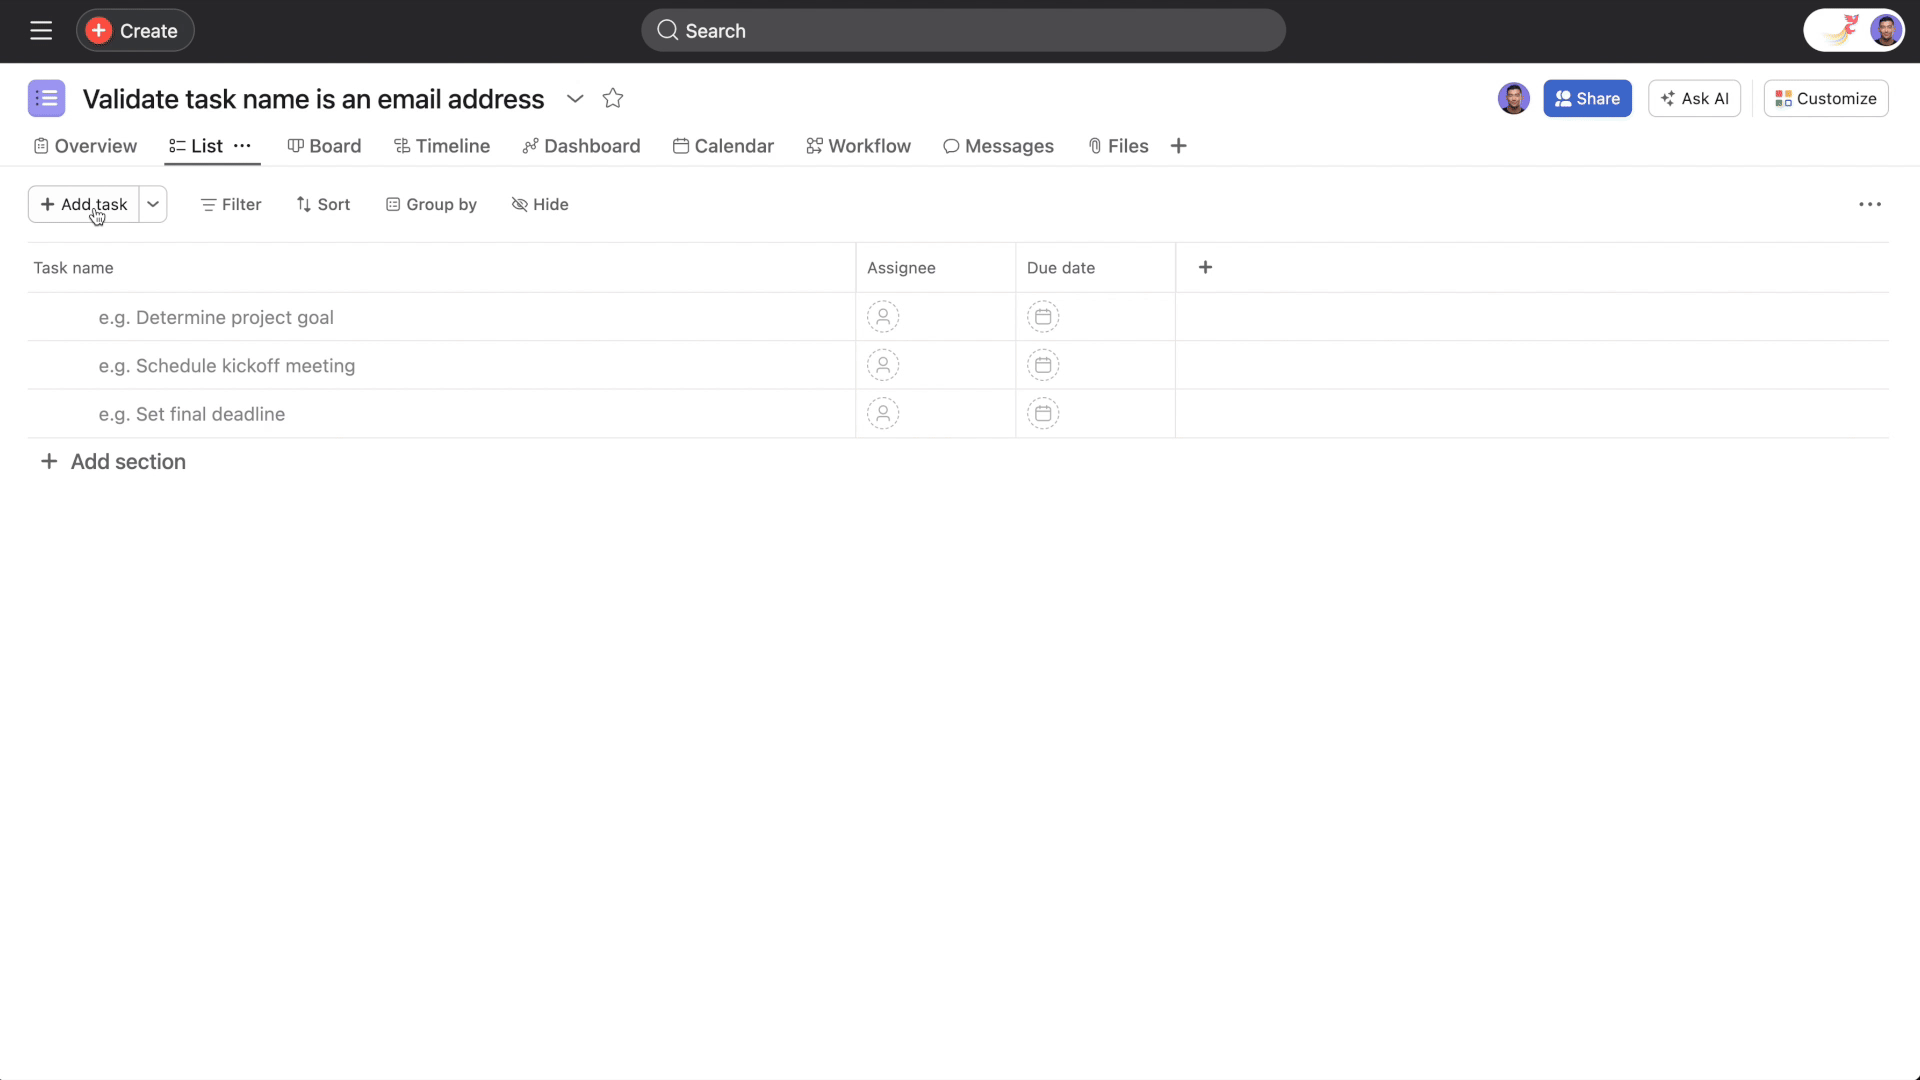
In this guide, we’ll write a script to “validate that the task name is an email address and add a comment to the task with the result”
A: Planning process
Let's outline our implementation plan. First, we'll identify the necessary API endpoints. In this scenario, we need to make two API calls:
- Get a task (GET /tasks/{task_gid}) - We'll need this to retrieve information about the task
- Create a story on a task (POST /tasks/{task_gid}/stories) - We’ll need this to add a comment on the task with the validation result
Next, let's outline the steps needed to achieve our script's objective. The following actions can help us accomplish this goal:
- Make an API call to get the name of the task that the rule ran on
- Write a function to check if the provided string is in an email format
- Make an API call to add a comment on the task with the result
B: Developing and testing your script locally on your computer
Character LimitThe script editor has a character limit of 100,000. Please ensure your script does not exceed this limit.
Prerequisite: ensure you have Node.js installed on your computer
- Open your preferred code editor and create a new file named
validateTaskName.js - In your terminal, change directory to where you have your
validateTaskName.jsfile stored - Run
npm initand go through the prompts - Run
npm install asana. This will install the latest version of the node-asana client library for your project - Copy the following template code into your code editor
const Asana = require('asana');

let client = Asana.ApiClient.instance;
let token = client.authentications['token'];
// TODO: Replace <YOUR_PERSONAL_ACCESS_TOKEN> with your Personal Access Token (PAT)
// NOTE: This is only used for testing your script locally
token.accessToken = "<YOUR_PERSONAL_ACCESS_TOKEN>";

const log = console.log;

// Set your project, task and workspace gid here
// These values will be provided to you when your script gets executed
// We want to emulate that so we set those values here
//
// TODO: Set these values
const project_gid = "123";
const task_gid = "456";
const workspace_gid = "789";

// Set up the resource instances that you plan on using for your script here
// Script actions will make these available for you in the script editor
//
// TODO: instantiate the Asana resources that you plan on using in your script
// EX: If you want to make API calls to the tasks endpoint, uncomment the line below
// let tasksApiInstance = new Asana.TasksApi();

/*
----------------------------------------------------------------------------------------
Write your script below, then COPY and PASTE your script into the script editor
----------------------------------------------------------------------------------------
*/

/**
 * What's in scope?
 * 1. (string) project_gid, workspace_gid, task_gid (only if triggered on a task)
 * 2. (function) log - this behaves like console.log and takes any number of parameters
 * 3. (object) *ApiInstance - for each group of APIs, an object containing functions to call the APIs; for example:
 *    tasksApiInstance.getTask(...)
 *    goalsApiInstance.addFollowers(...)
 * For more info, see https://github.com/Asana/node-asana
 */

const run = async () => {
  // TODO: Write your script here
};

run();
- Before you begin writing your script, carefully review each of the
TODOs provided in the template code and ensure all required information is filled in. Doing this will closely replicate what is given to you by the script editor- Replace
<YOUR_PERSONAL_ACCESS_TOKEN> - Replace
project_gid,task_gid, andworkspace_gid - Add the Asana API resources that you will use in your script. For this script, we will need the
tasksApiInstanceandstoriesApiInstance
- Replace
// Instantiate Asana API resources
// TODO: instantiate the Asana resources that you plan on using in your script
// EX: If you want to make API calls to the tasks endpoint, uncomment the line below
let tasksApiInstance = new Asana.TasksApi();
let storiesApiInstance = new Asana.StoriesApi();
TipTo get
<YOUR_PERSONAL_ACCESS_TOKEN>,project_gid,task_gid, andworkspace_gidfor the above script template you can:
- <YOUR_PERSONAL_ACCESS_TOKEN>: can be generated from the developer console
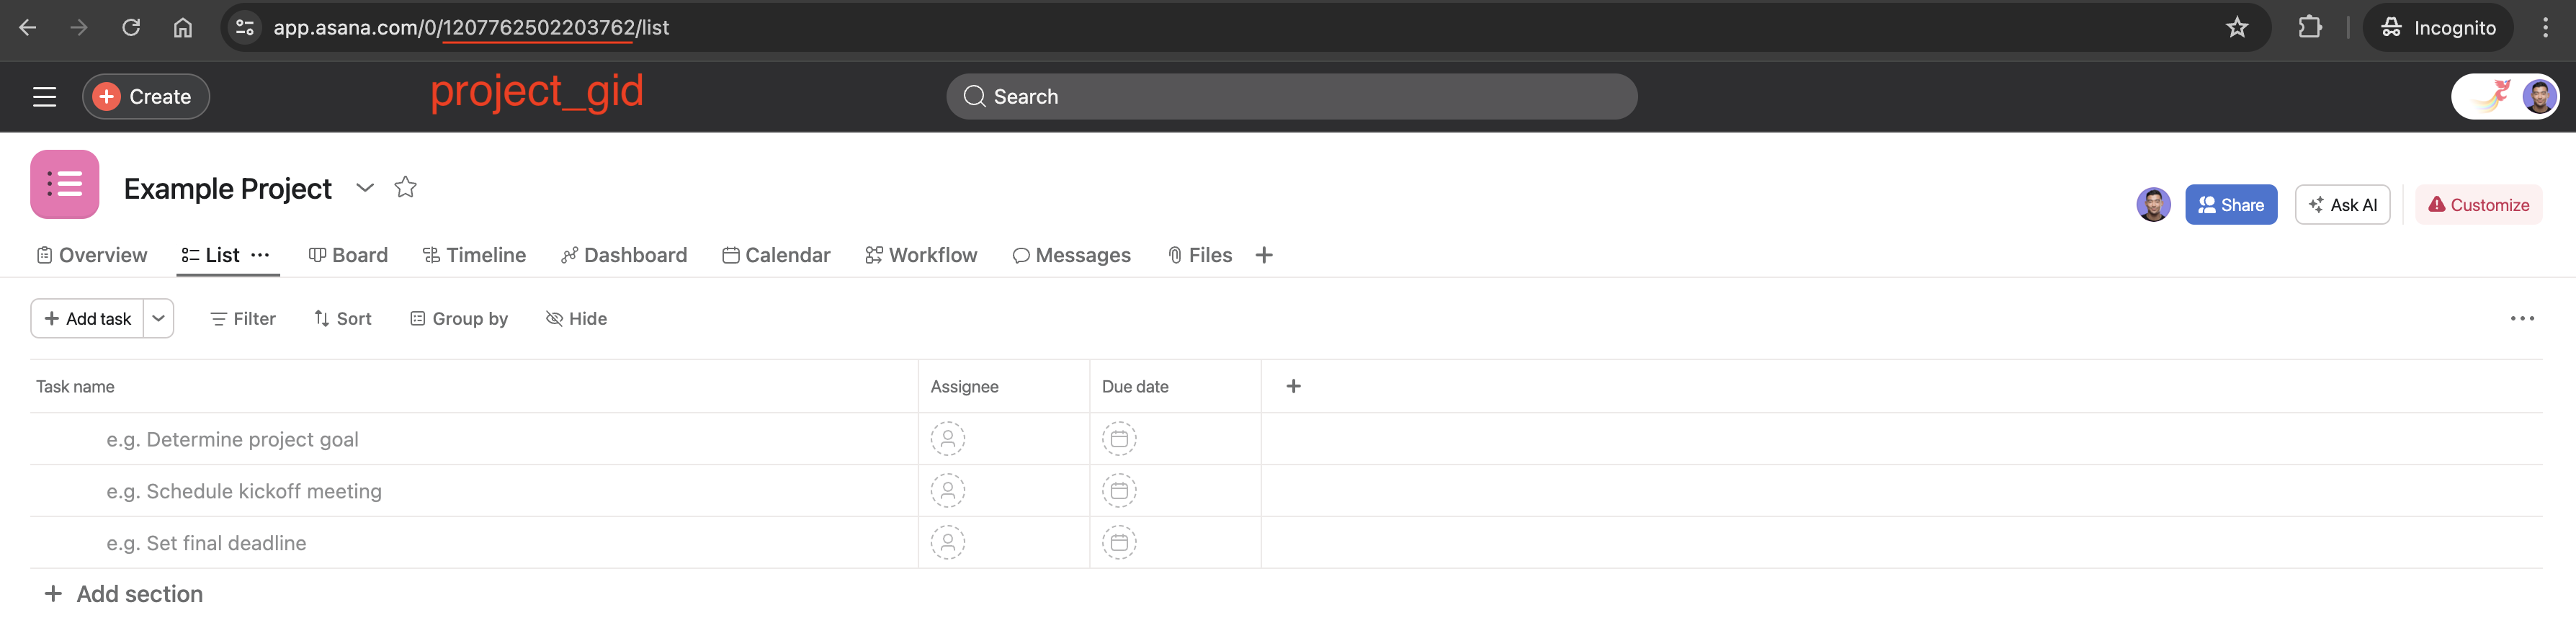
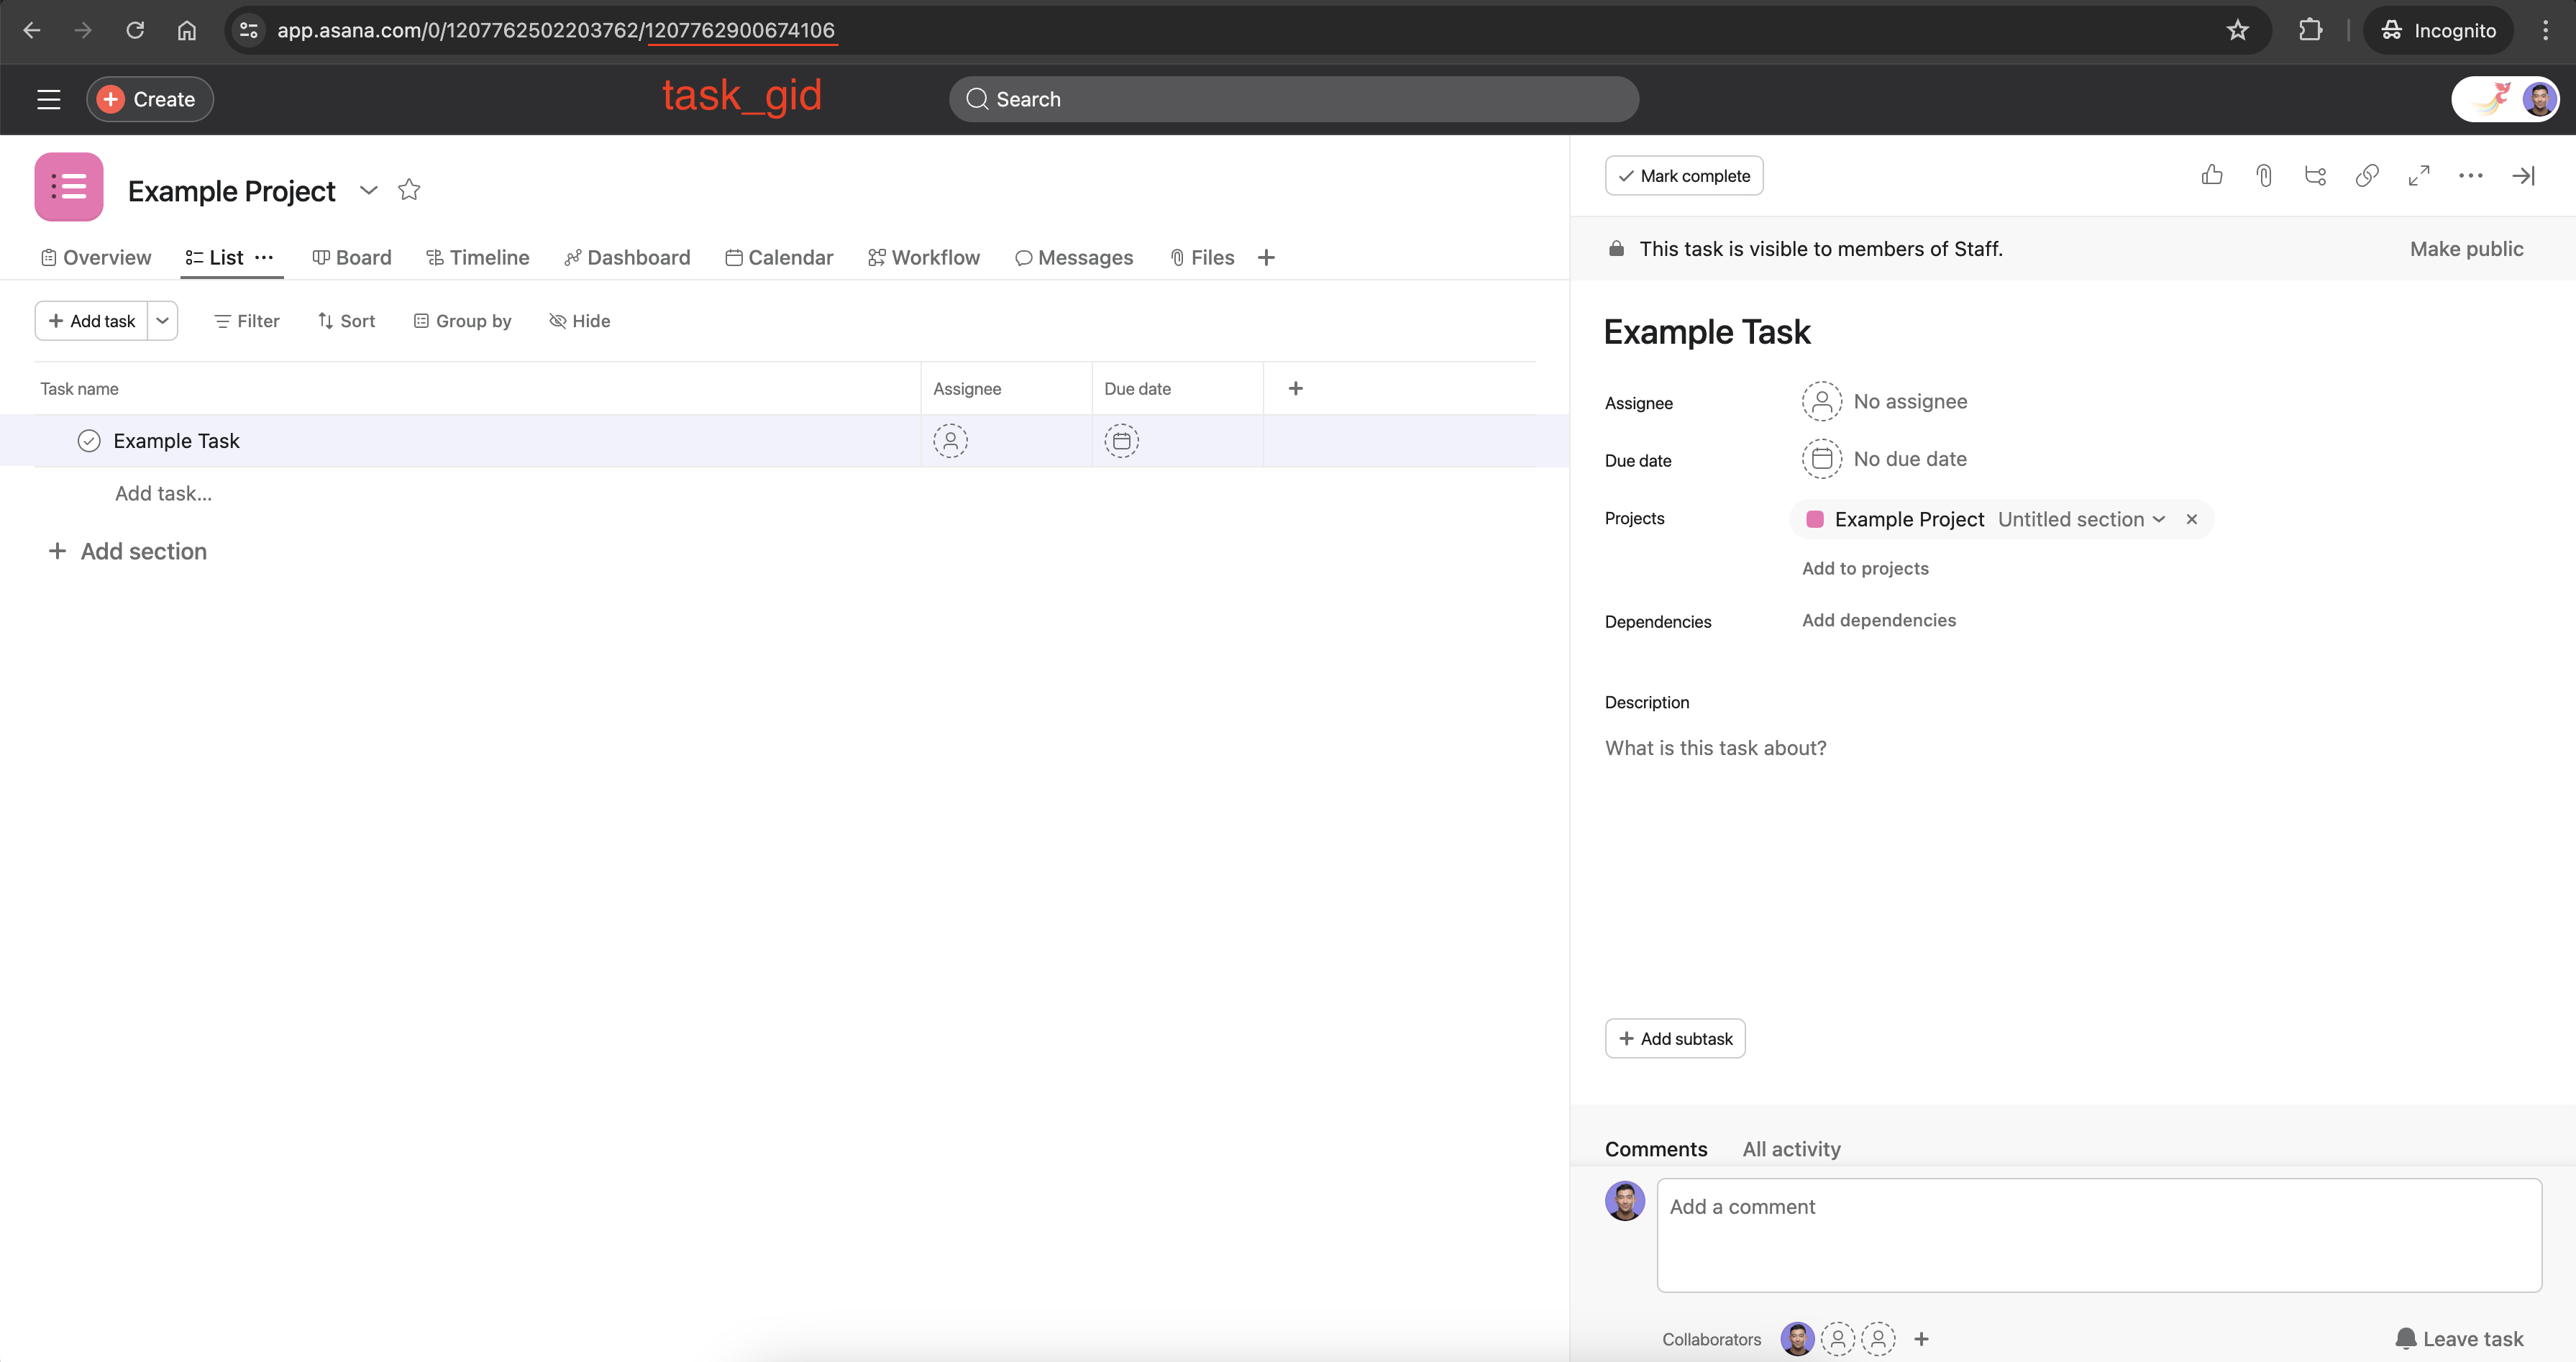
project_gid: reference the gid from the project URL
task_gid: reference the gid from the task URL
- workspace_gid: from https://app.asana.com/api/1.0/workspaces
- Navigate to the documentation for Get a task (GET /tasks/{task_gid}) and reference the Node > node-sdk-v3 sample code
const task = await tasksApiInstance.getTask(task_gid, { 'opt_fields': "name" });- Write a function called
isEmailTextto check if the name of the task is an email and return a boolean value as the result
const isEmailText = (text) => {
    const emailRegex = /^[\w\.-]+@[a-zA-Z\d\.-]+\.[a-zA-Z]{2,}$/;
    return emailRegex.test(text);
};- Navigate to the documentation for Create a story on a task (POST /tasks/{task_gid}/stories) and reference Node > node-sdk-v3 sample code
let storyRequestBody = {
  "data": {
    "text": `<SUCCESS_MESSAGE/FAIL_MESSAGE>`
  }
};
storiesApiInstance.createStoryForTask(storyRequestBody, task_gid);- Putting it all together we get:
// Checks if the provided text is in email format
const isEmailText = (text) => {
    const emailRegex = /^[\w\.-]+@[a-zA-Z\d\.-]+\.[a-zA-Z]{2,}$/;
    return emailRegex.test(text);
};

const run = async () => {
  // 1. Get information about the triggered task
  const task = await tasksApiInstance.getTask(task_gid, { 'opt_fields': "name" });
  const taskName = task.data.name;

  // 2. Check if the task name is an email and set the result in the storyRequestBody
  let storyRequestBody = {
    "data": {
      "text": ""
    }
  };
  if(isEmailText(taskName)) {
    // 2a: The task name is in email format
    // Set the comment message
    storyRequestBody['data']['text'] = `SUCCESS: the task name "${taskName}" is in email format (EX: [email protected])`
  } else {
    // 2a: The task name is NOT in email format
    // Set the comment message
    storyRequestBody['data']['text'] = `FAIL: the task name "${taskName}" is NOT in email format (EX: [email protected])`
  }

  // 3. Add a comment to the task with the result
  storiesApiInstance.createStoryForTask(storyRequestBody, task_gid);
};

run();
- Test the script locally on your computer by running
node validateTaskName.js
C: Replacing the default script
- Navigate to the project where you setup the rule with a Script Action from section 2: Setting up a Script Action rule
- Navigate to Customize > under the Edit section, click on Rules > Select the previous rule you created (assuming you did not name the rule, it should be called When Task is assigned)
- Select the Run script card > this should open up the script editor view
- Copy and paste your script from step B: Developing and testing your script locally on your computer. NOTE: Only copy the contents after:
/*
----------------------------------------------------------------------------------------
Write your script below, then COPY and PASTE your script into the script editor
----------------------------------------------------------------------------------------
*/
i.e., Copy the following over
// Checks if the provided text is in email format
const isEmailText = (text) => {
    const emailRegex = /^[\w\.-]+@[a-zA-Z\d\.-]+\.[a-zA-Z]{2,}$/;
    return emailRegex.test(text);
};

const run = async () => {
  // 1. Get information about the triggered task
  const task = await tasksApiInstance.getTask(task_gid, { 'opt_fields': "name" });
  const taskName = task.data.name;

  // 2. Check if the task name is an email and set the result in the storyRequestBody
  let storyRequestBody = {
    "data": {
      "text": ""
    }
  };
  if(isEmailText(taskName)) {
    // 2a: The task name is in email format
    // Set the comment message
    storyRequestBody['data']['text'] = `SUCCESS: the task name "${taskName}" is in email format (EX: [email protected])`
  } else {
    // 2a: The task name is NOT in email format
    // Set the comment message
    storyRequestBody['data']['text'] = `FAIL: the task name "${taskName}" is NOT in email format (EX: [email protected])`
  }

  // 3. Add a comment to the task with the result
  storiesApiInstance.createStoryForTask(storyRequestBody, task_gid);
};

run();
- Click on the Save button
4. Test your script
In section 2: Setting up a Script Action rule we set our rule to trigger when a task is assigned to someone. Let's go ahead and test the following scenarios.
Script ActorActions performed by the script are treated as if they were done by the user. Additionally, scripts can do anything the user has access to do.
Scenario 1: Task name is in email format
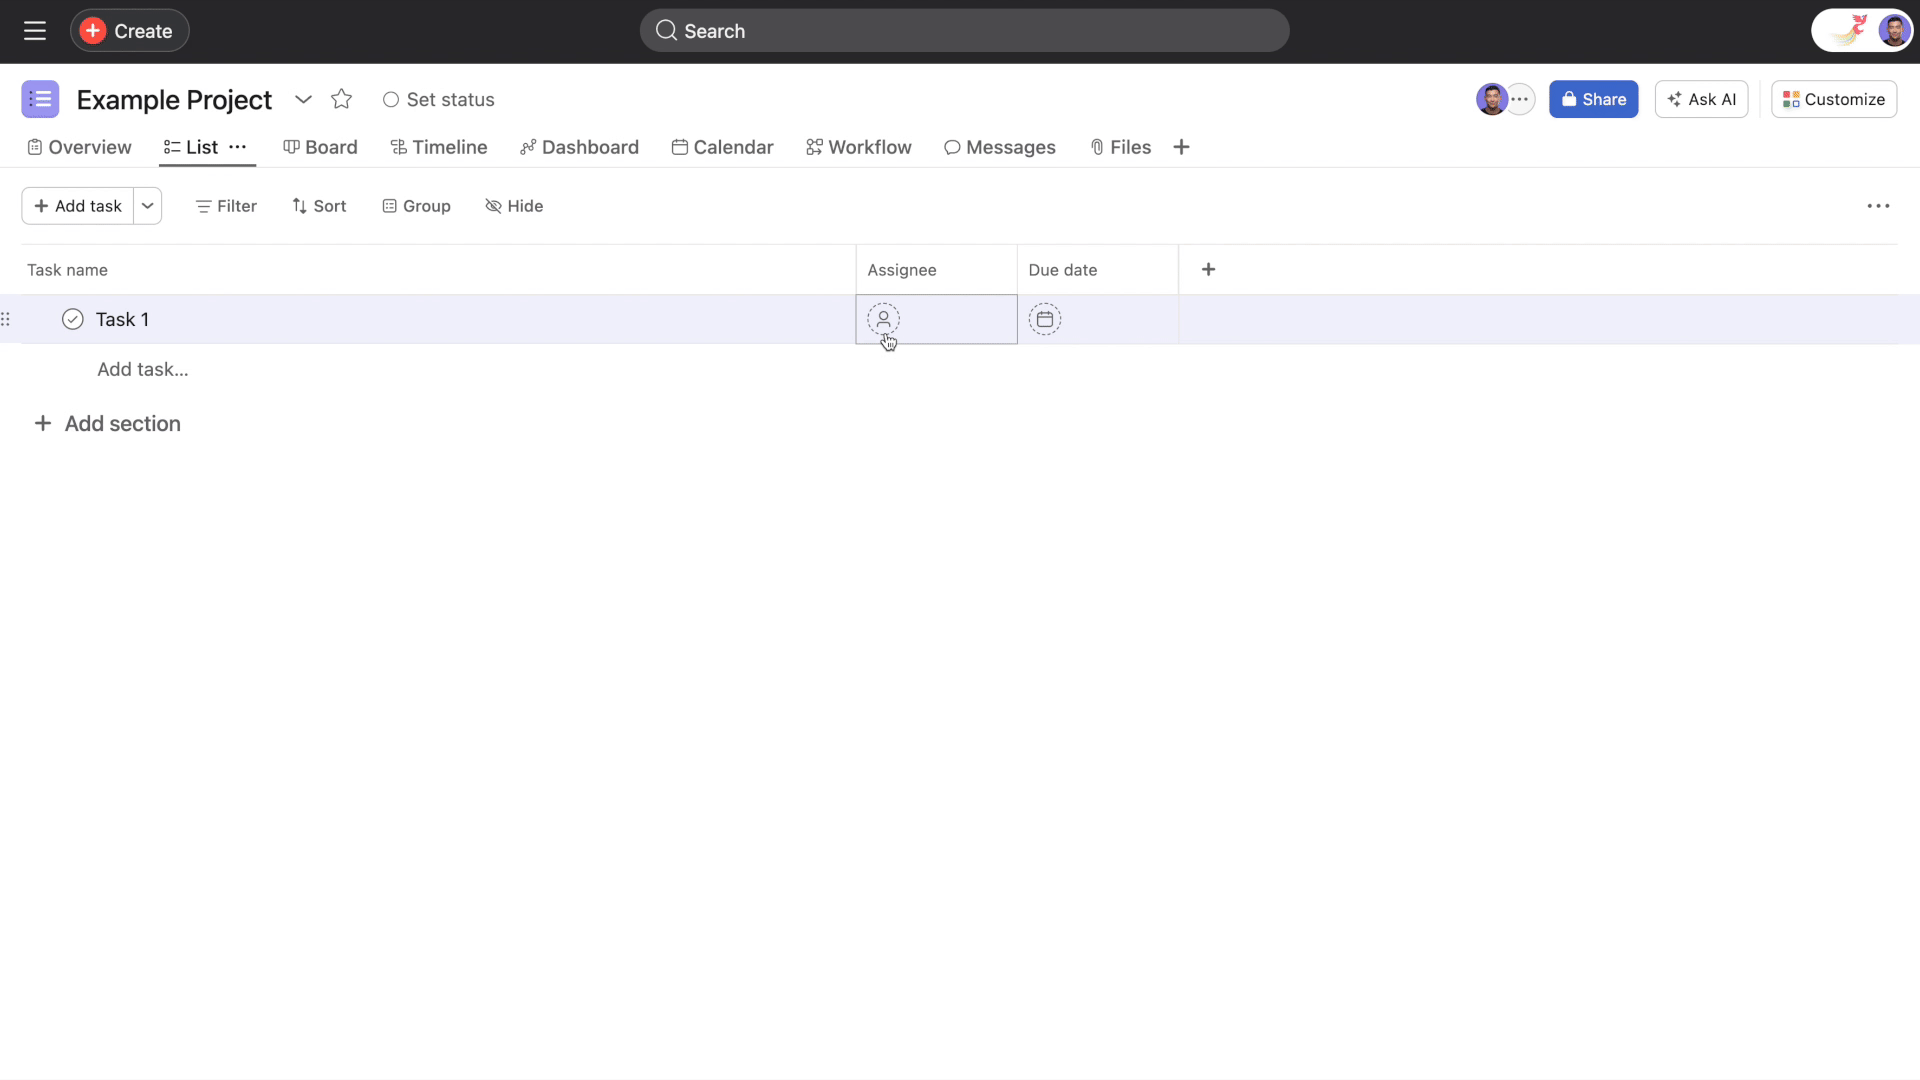
Add a new task to the project and give it a name that is an email address (e.g., [email protected]) then assign it to a user
- Expected Result = Rule to run and the following comment to be added to the task:
SUCCESS: the task name "[email protected]" is in email format (EX: [[email protected]](mailto:[email protected]))

Scenario 2: Task name is NOT in email format
Add a new task to the project and give it a non-email address name (e.g., Test Task) then assign it to a user
- Expected Result = Rule to run and the following comment to be added to the task:
FAIL: the task name "Test Task" is NOT in email format (EX: [[email protected]](mailto:[email protected]))
Manually triggering a rule
To further help you test your script action, you can use a manual trigger to manually re-execute a rule. To do so, select the Rule is run manually trigger when setting up a script action:
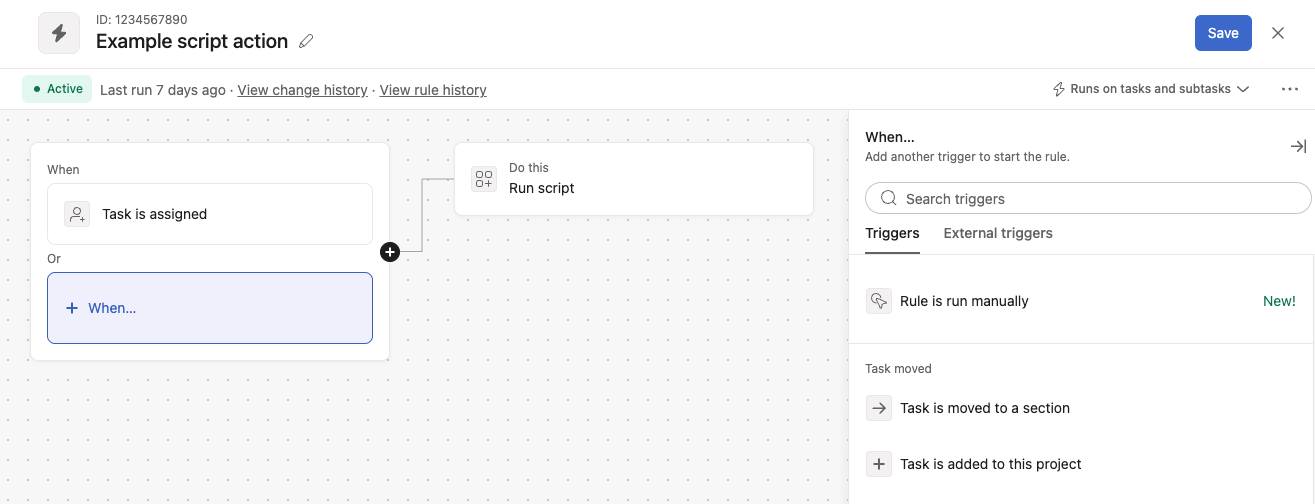
In the above example, after selecting that additional trigger, the script will be set to run when either a Task is assigned in that project, or when triggered manually.
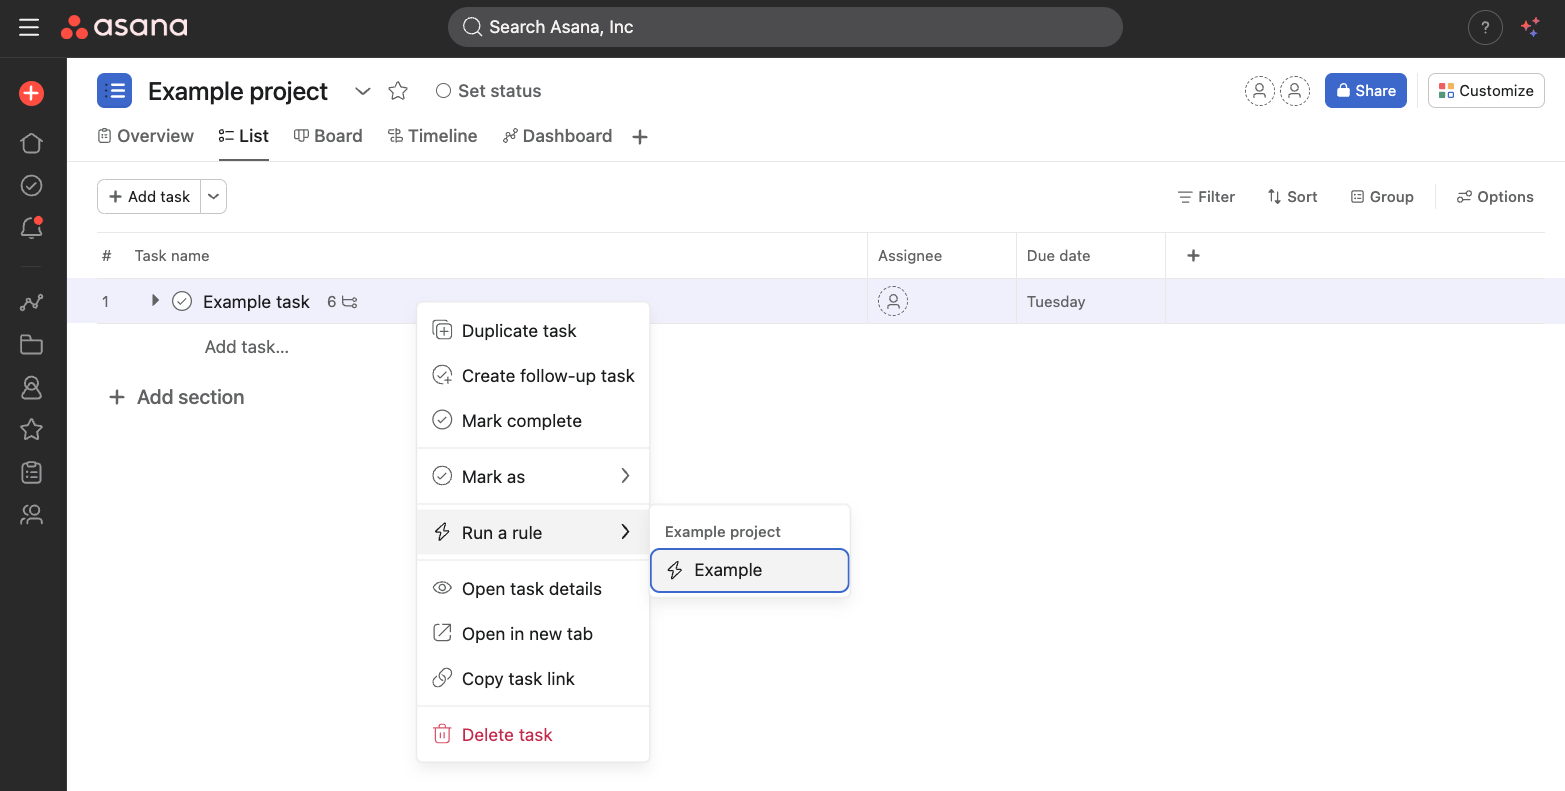
Once the rule is saved, right click in the project and select your trigger label under Run a rule. In the following example, the trigger name Example is shown:
By re-triggering a rule in this manner, you can manually run a script as needed, such as in situations where you need to re-attempt a failed execution.
If you encounter any errors, please refer to the below section 5. Debugging/Errors/Logging on tips on how you can debug your issue.
5. Debugging/Errors/Logging
Script Actions offers a function called log which is equivalent to console.logthat serves as a debugging tool, allowing you to print your script's output to the run history. Furthermore, if your script encounters an error, you can review the run history logs to assist in debugging the issue.
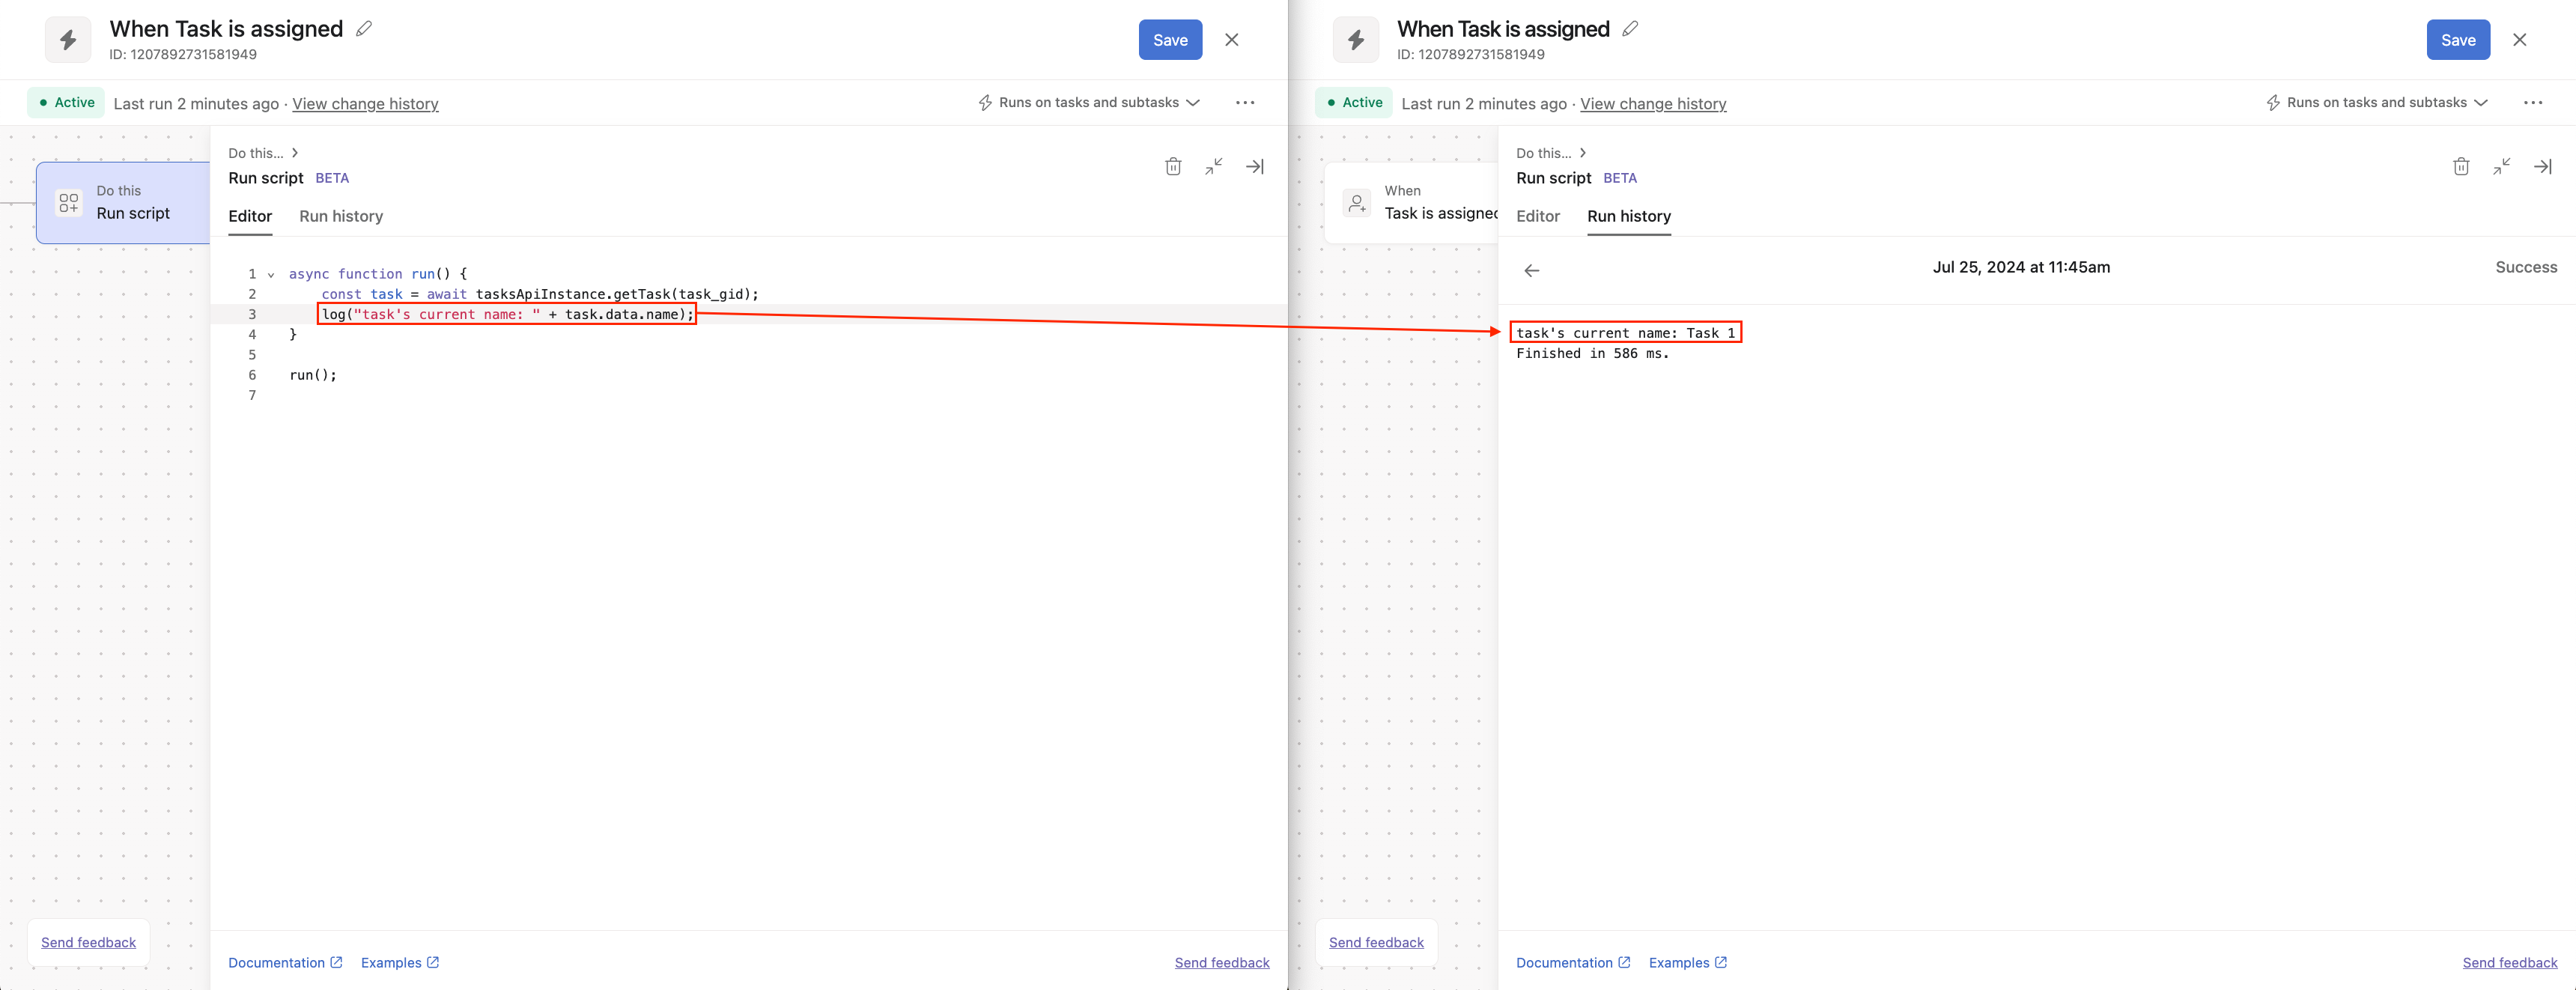
To access your run history logs:
- Navigate to Customize > under the Edit section and click on Rules > Select your rule
- Select the Run script card > Run history tab
Log LimitLogs have a character limit of 5,000 and will be truncated if they exceed this limit.
try...catchScript action scripts are enclosed in their own
try...catchstatement. If your script also contains a try...catch statement, errors may not appear as errors but may instead be displayed as logs in the "Run history" tab.
Scenario 1: Logs
async function run() {
    const task = await tasksApiInstance.getTask(task_gid);
    log("task's current name: " + task.data.name);
}

run();

Scenario 2: Errors
async function run() {
    // Provide a fake gid to trigger error
    const task = await tasksApiInstance.getTask("RANDOM_GID");
}

run();
6. Next steps
See our Script action examples page and script-actions-examples GitHub page for more examples and use cases.
Updated 11 months ago