
Share your app
After you create your app, it is not visible to any particular workspace yet. You will need to decide how to share your app so that you can make API calls to a workspace. Apps can be shared with a specific workspace that you belong to, any workspace (public), and if made public, they can also be submitted to Asana so that they can be published in our App Directory.
Personal access tokens (PATs) do not have sharing settings. PATs represent programmatic access to Asana for your user, so they can only be used in workspaces where you are a member.
How to share your app
When you are ready to allow others to use your app in a workspace, visit the Manage distribution tab for your app in the developer console. There, you can choose to share your app with either (one or more) specific workspaces or with any workspace:
Specific workspaces
Sharing your app with specific workspaces allows you to share the app with any workspace(s) that you are a member of. To begin:
- Select Specific workspace. Once saved, select + Add workspace:

- Choose a workspace from the dropdown menu and select Add. This will allow any member of that workspace to authorize the app when given an authorization URL or the user authorization endpoint.

Which workspace(s) am I member of?Along with seeing your options in the dropdown (as shown above), you can retrieve your workspace memberships via the API by making a request to GET /users/
USER_GID/workspace_memberships.Alternatively, if you are already logged in to the Asana app in your browser, you can also visit https://app.asana.com/api/1.0/workspaces to quickly get your workspace membership records. Under the hood, this is a request to GET /workspaces for the currently logged in user.
- You may also select multiple workspaces in which to distribute your app:

Any workspace
If your app is intended to be shared with many users, select Any workspace. This will allow users from any Asana workspace to authorize the app if they are given the authorization URL.

App directory distributionAll apps submitted for publication to the app directory must be shared to Any workspace.
App listing details
When you are read to share you app, it's important to add information about who built the app and what the app can do so that users and admins understand the value your app provides.
Asana users and admins can see information about your app on the app details page. Even if you do not intend to publish your app to to App Directory, this information is valuable to users and admins where your app is visible.
Fill out information about your app in the App listing details page inside the developer console.
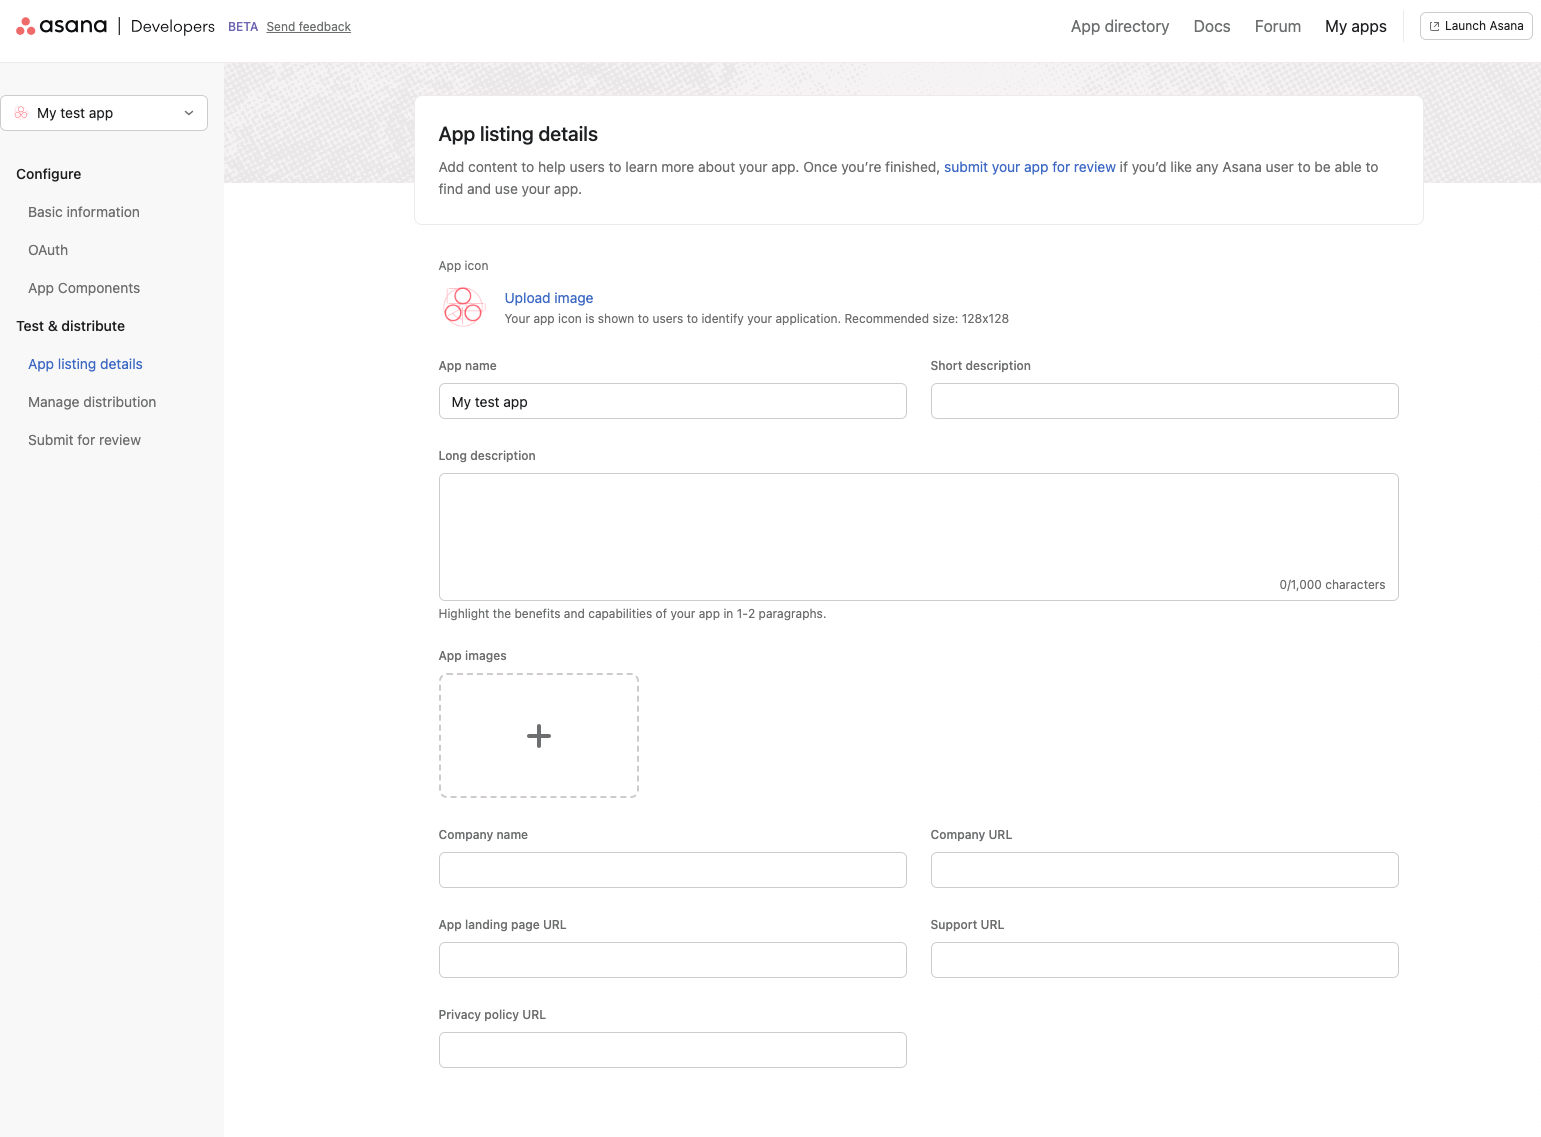
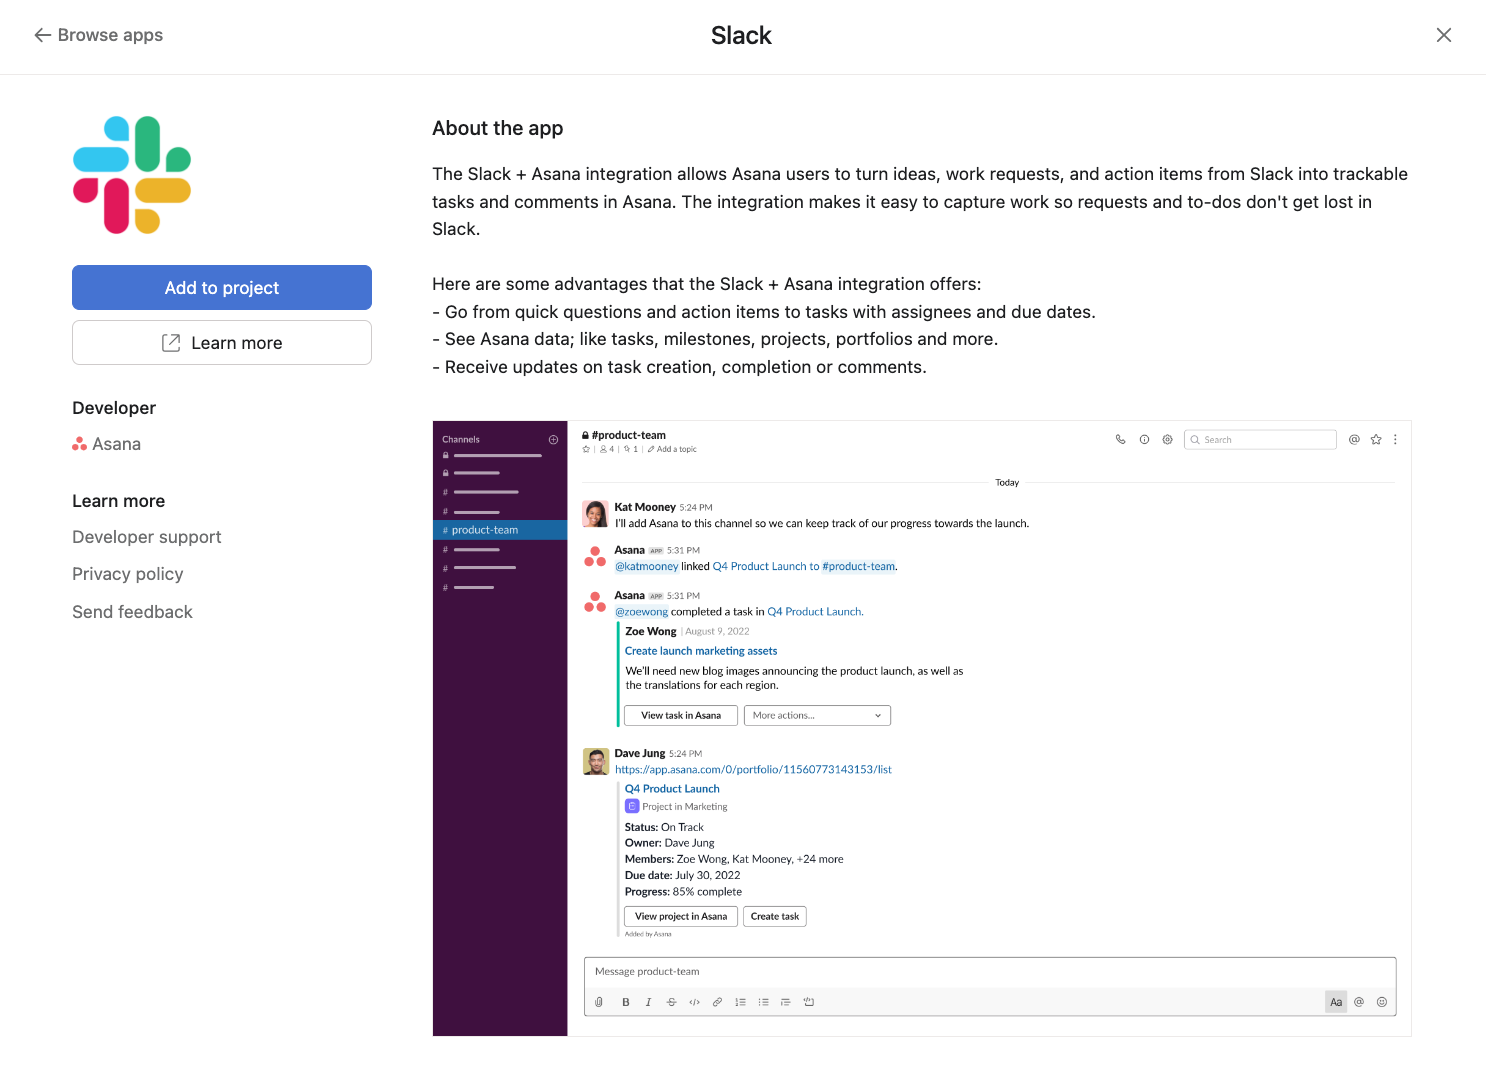
If your app has app components, it will be visible inside the in-product App Gallery. Asana users visit the App Gallery to install these apps on individual projects. Here's an example of what an app listing details page looks like when it's filled out:
Additionally this information is important to admins who approve apps for their Asana workspace. In many Enterprise organizations, admins manage which apps can be used from the admin console. The app listing details page is shown to the admin so they can make an approval or block decision about an app. Understanding who built the app and what it can do is critical for admins when making app approval and/or block decisions.
App listing details fields
| Property | Description |
|---|---|
| App icon | Your app's icon, shown to users to identify your application in the app gallery and admin console. |
| App name | Your app's name, shown to users to identify your application. |
| Short description | A short description of the app. |
| Long description | An extended description of the functionality of the app. Shown in the app gallery and admin console. |
| Company name | Your company name or developer name. Shown in the app gallery and admin console. |
| Company URL | URL of the page where users can learn more about your company. Shown in the app gallery and admin console. |
| App landing page URL | URL of the page where users can learn more about this app and install it. For example, if your app is listed in an external app directory (Google, etc) |
| Support URL | URL of the page where users can read documentation or get support. Shown in the app gallery and admin console. |
| Privacy policy URL | URL of the page where users can read your app's privacy policy. Shown in the app gallery and admin console. |
App listing guidelinesFor detailed information about app listing requirements, examples, and best practices, visit our app listing guidelines page.
Change sharing settings
For unpublished apps (i.e., apps that are not in the app directory), you can change your app distribution settings at any time.
Note that that changing the sharing settings from Any workspace to Specific workspace will block any new authorizations from users outside the specified workspace:

Updated 10 months ago