Building app components
App components framework
To understand how to build with app components, it’s essential to understand how app components send and receive data. Unlike a traditional rest API, your app will not make calls to the API, but rather receive API calls from Asana when users interact with your app’s UI components. It is then up to your app server to respond to Asana’s request with a valid response.
Let’s take a look at the following diagram then an example request and response. In this example let’s imagine a user has already used your app to find or create an outside resource (like a URL of a Jira issue) using a lookup or modal form component. Then the URL attachment has now been added as a widget. Whenever a user opens the task with the widget, Asana will make a request to your app to fetch the metadata to display. This is what allows the widget to show the most up to date information about the URL attachment.
Asana user opens task with widget:
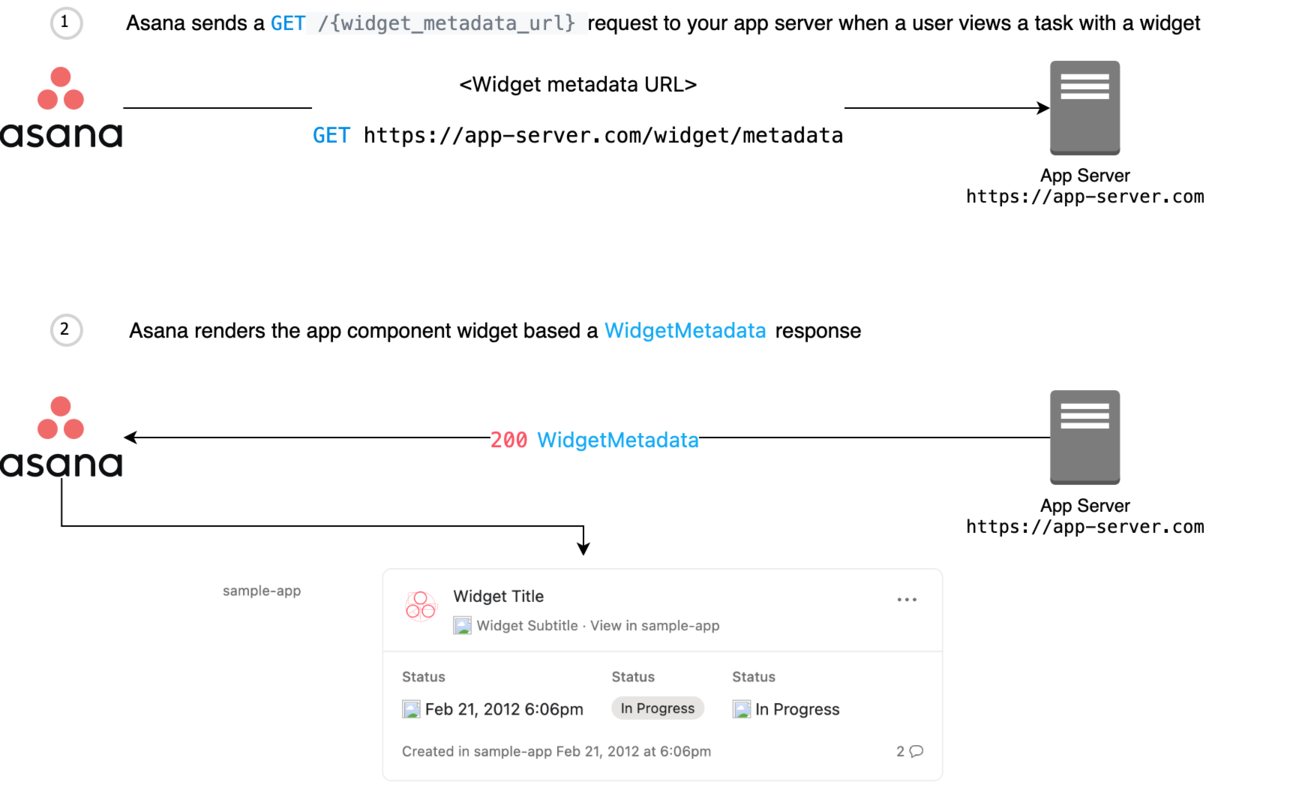
Step 1 shows how Asana will then make a request to your app (app-server) at https://app-server.com/widget/metadata.
Step 2 shows how your app would be expected to respond with a valid 200 WidgetMetadata response. The valid response will display the URL attachment as a widget with its updated metadata.
Here is an example of what a valid WidgetMetadata response component might look like:
Response
{
  "template": "summary_with_details_v0",
  "metadata": {
    "title": "My Widget",
    "subtitle": "Subtitle text",
    "subicon_url": "https://www.fillmurray.com/16/16",
    "fields": [
      {
        "name": "Pill",
        "type": "pill",
        "text": "Some text",
        "color": "green"
      },
      {
        "name": "Date & time",
        "type": "datetime_with_icon",
        "datetime": "2016-01-15T22:20:54.722Z",
        "icon_url": "https://www.fillmurray.com/16/16"
      },
      {
        "name": "Text",
        "type": "text_with_icon",
        "text": "Some text",
        "icon_url": "https://www.fillmurray.com/16/16"
      },
      {
        "name": "Text",
        "type": "text_with_icon",
        "text": "Some text"
      }
    ],
    "footer": {
      "footer_type": "custom_text",
      "text": "Last updated today",
      "icon_url": "https://www.fillmurray.com/16/16"
    },
    "num_comments": 2
  }
}
Getting started
To get started with components, we recommend familiarizing yourself with some of the basics for creating and building an app with Asana.
For app components specifically, we have a UI builder to practice and test building valid responses for all component types. Start playing with the UI builder to understand how components work and think about your design.
We also have a few example apps to help you get started with app components: modal form + widget example and rule actions example.
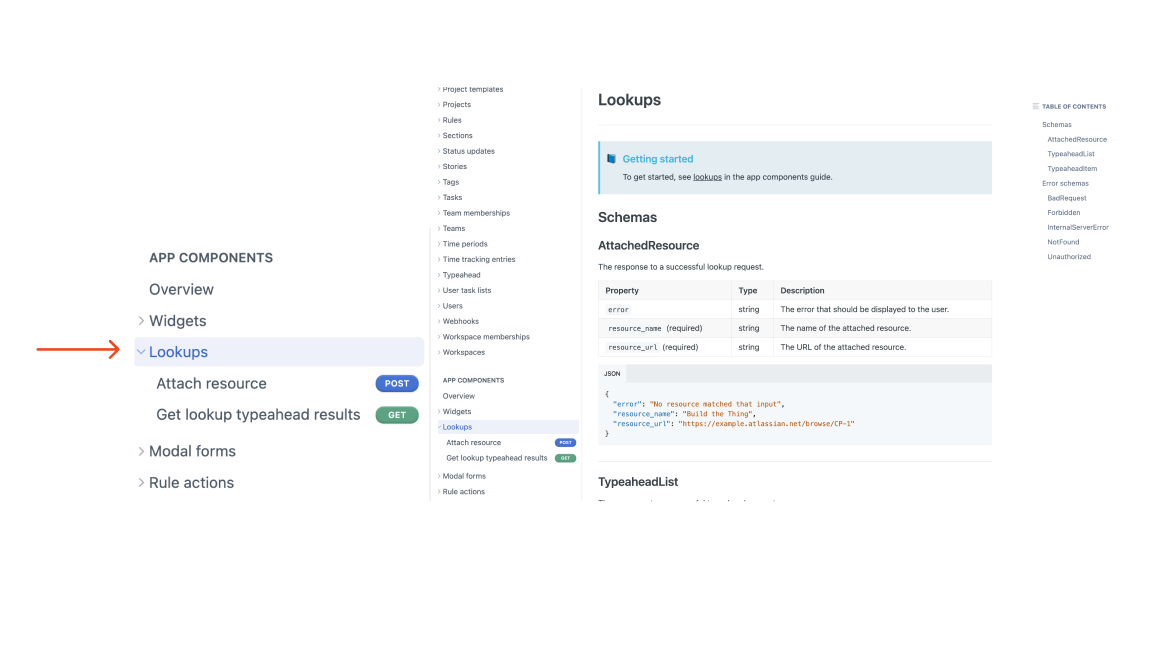
When you are ready to build, check out the documentation for each component type to understand the schemas and configuration details. Schema details can be found in the API reference under each component type.
Building with components
Once you have tested app components and are ready to build your app, you will need to:
- Create or edit your app in the developer console
- Build your app server so that you can receive requests
- Tell Asana where to send requests in the developer console
- Set up OAuth for user’s to authorize the app
- Install the app on an Asana project
- Share your app with it’s intended audience
1. Create or edit your app in the developer console
Navigate to the developer console and edit an existing app or create a new one. We recommend building test apps in a developer sandbox
2. Build your app server so that you can receive requests
Because apps built with app components allow end users to interact with resources external to Asana, an app server is required in order for your app to function. Asana will make requests directly to endpoints exposed on your app server to display app components in Asana’s UI. .
App server requirements
- App servers need to accept HTTP requests and be accessible via URLs
- Request payloads will be JSON and app servers should respond with JSON (if a response is needed)
- Successful requests should respond with either a
200or204status code. Some app components have additional error handling for codes like400. For example:
app.get("/form/metadata", (req, res) => {
  try {
    // ...
  } catch (error) {
    res.status(400).json({
      error: error.message || "An unexpected error occurred"
    });
  }
});- If an app server is down or throws a
500, we will likely retry the request
Use an example app to get startedTo see an example server written in Express.js, check out the app-components-example-app repository on Github.
Security requirements and guidelines
Because Asana is sending messages to an external app server, we want to ensure that the requests and responses are being made as securely as possible. This guidance is relevant and recommended for all apps, and is required for apps to be published in our App Directory.
When handling requests from Asana, your app must:
- Add cross-origin resource sharing (CORS) headers to responses. In order to update the Asana user interface (e.g., populating a Widget with external data), requests are made from the client to your app server. As such, enabling and configuring CORS is required. Feel free to use your browser's developer tools to debug during development.
- Reject requests with missing or incorrect signatures.
- Reject requests with an expires_at time in the past.
- Note: Make sure to use the correct units for this. expires_at is in milliseconds. If you compare the expiration time to a timestamp in seconds, it will always look like the request expires thousands of years in the future.
- Validate the
stateparameter during the auth process.- Scenario:
-
- When a user clicks on the "Connect to<YOUR_APP_NAME>" button, Asana redirects the user to <YOUR_AUTH_URL> that you set in the developer console.
- At some point <YOUR_AUTH_URL> will redirect the user to
https://app.asana.com/-/oauth_authorize?response_type=code&client_id=<YOUR_APP_CLIENT_ID>&redirect_uri=<YOUR_CALLBACK_URL>&state=<YOUR_UNGUESSABLE_STATE_VALUE> - When the user clicks on the "Allow" button on the Asana "Grant Permission" page, Asana will redirect the user to
<YOUR_CALLBACK_URL>with thestate(<YOUR_UNGUESSABLE_STATE_VALUE>) you provided in the query params tohttps://app.asana.com/-/oauth_authorize.- EX:
<YOUR_CALLBACK_URL>?state=<YOUR_UNGUESSABLE_STATE_VALUE>,....
- EX:
- Your
<YOUR_CALLBACK_URL>should then validate thisstateand return an error if the<YOUR_UNGUESSABLE_STATE_VALUE>does not match the<YOUR_UNGUESSABLE_STATE_VALUE>that you have stored on your app server.
-
- Scenario:
More details on validating request signatures
The burden of verifying the request is on the app. Without this check, attackers can send requests to the app server pretending to be Asana.
Generating the signature
Message integrity is provided by a SHA-256 HMAC signature on the contents of the request.
- For
GETrequests, the "message" used to generate the signature is the query string of the request with escaped characters, omitting the leading?of the query string. - For
POSTrequests, the "message" is the JSON blob in thedatafield of the request body.
For both types of requests, the secret used to compute the signature is your app's client secret which can be found in the OAuth tab for the app in the developer console.
Note that the signature is transmitted via a header in the request body, particularly the value of x-asana-request-signature. The app server calculates the same signature and compares that to the value in the header. The app server should reject the request if the two do not match. The signature must be on the exact parameter string that will be passed to the app, since the signature will change if something as trivial as spacing changes.
Example of a signatureTo see an example of how the signature is computed, you can view an open source example app server in the
app-components-example-app repository on Github.
3. Tell Asana where to send requests in the developer console
Visit the App components section of the developer console and add URLs to each component. Asana will use these URLs to send requests when users interact with your app in the Asana UI.
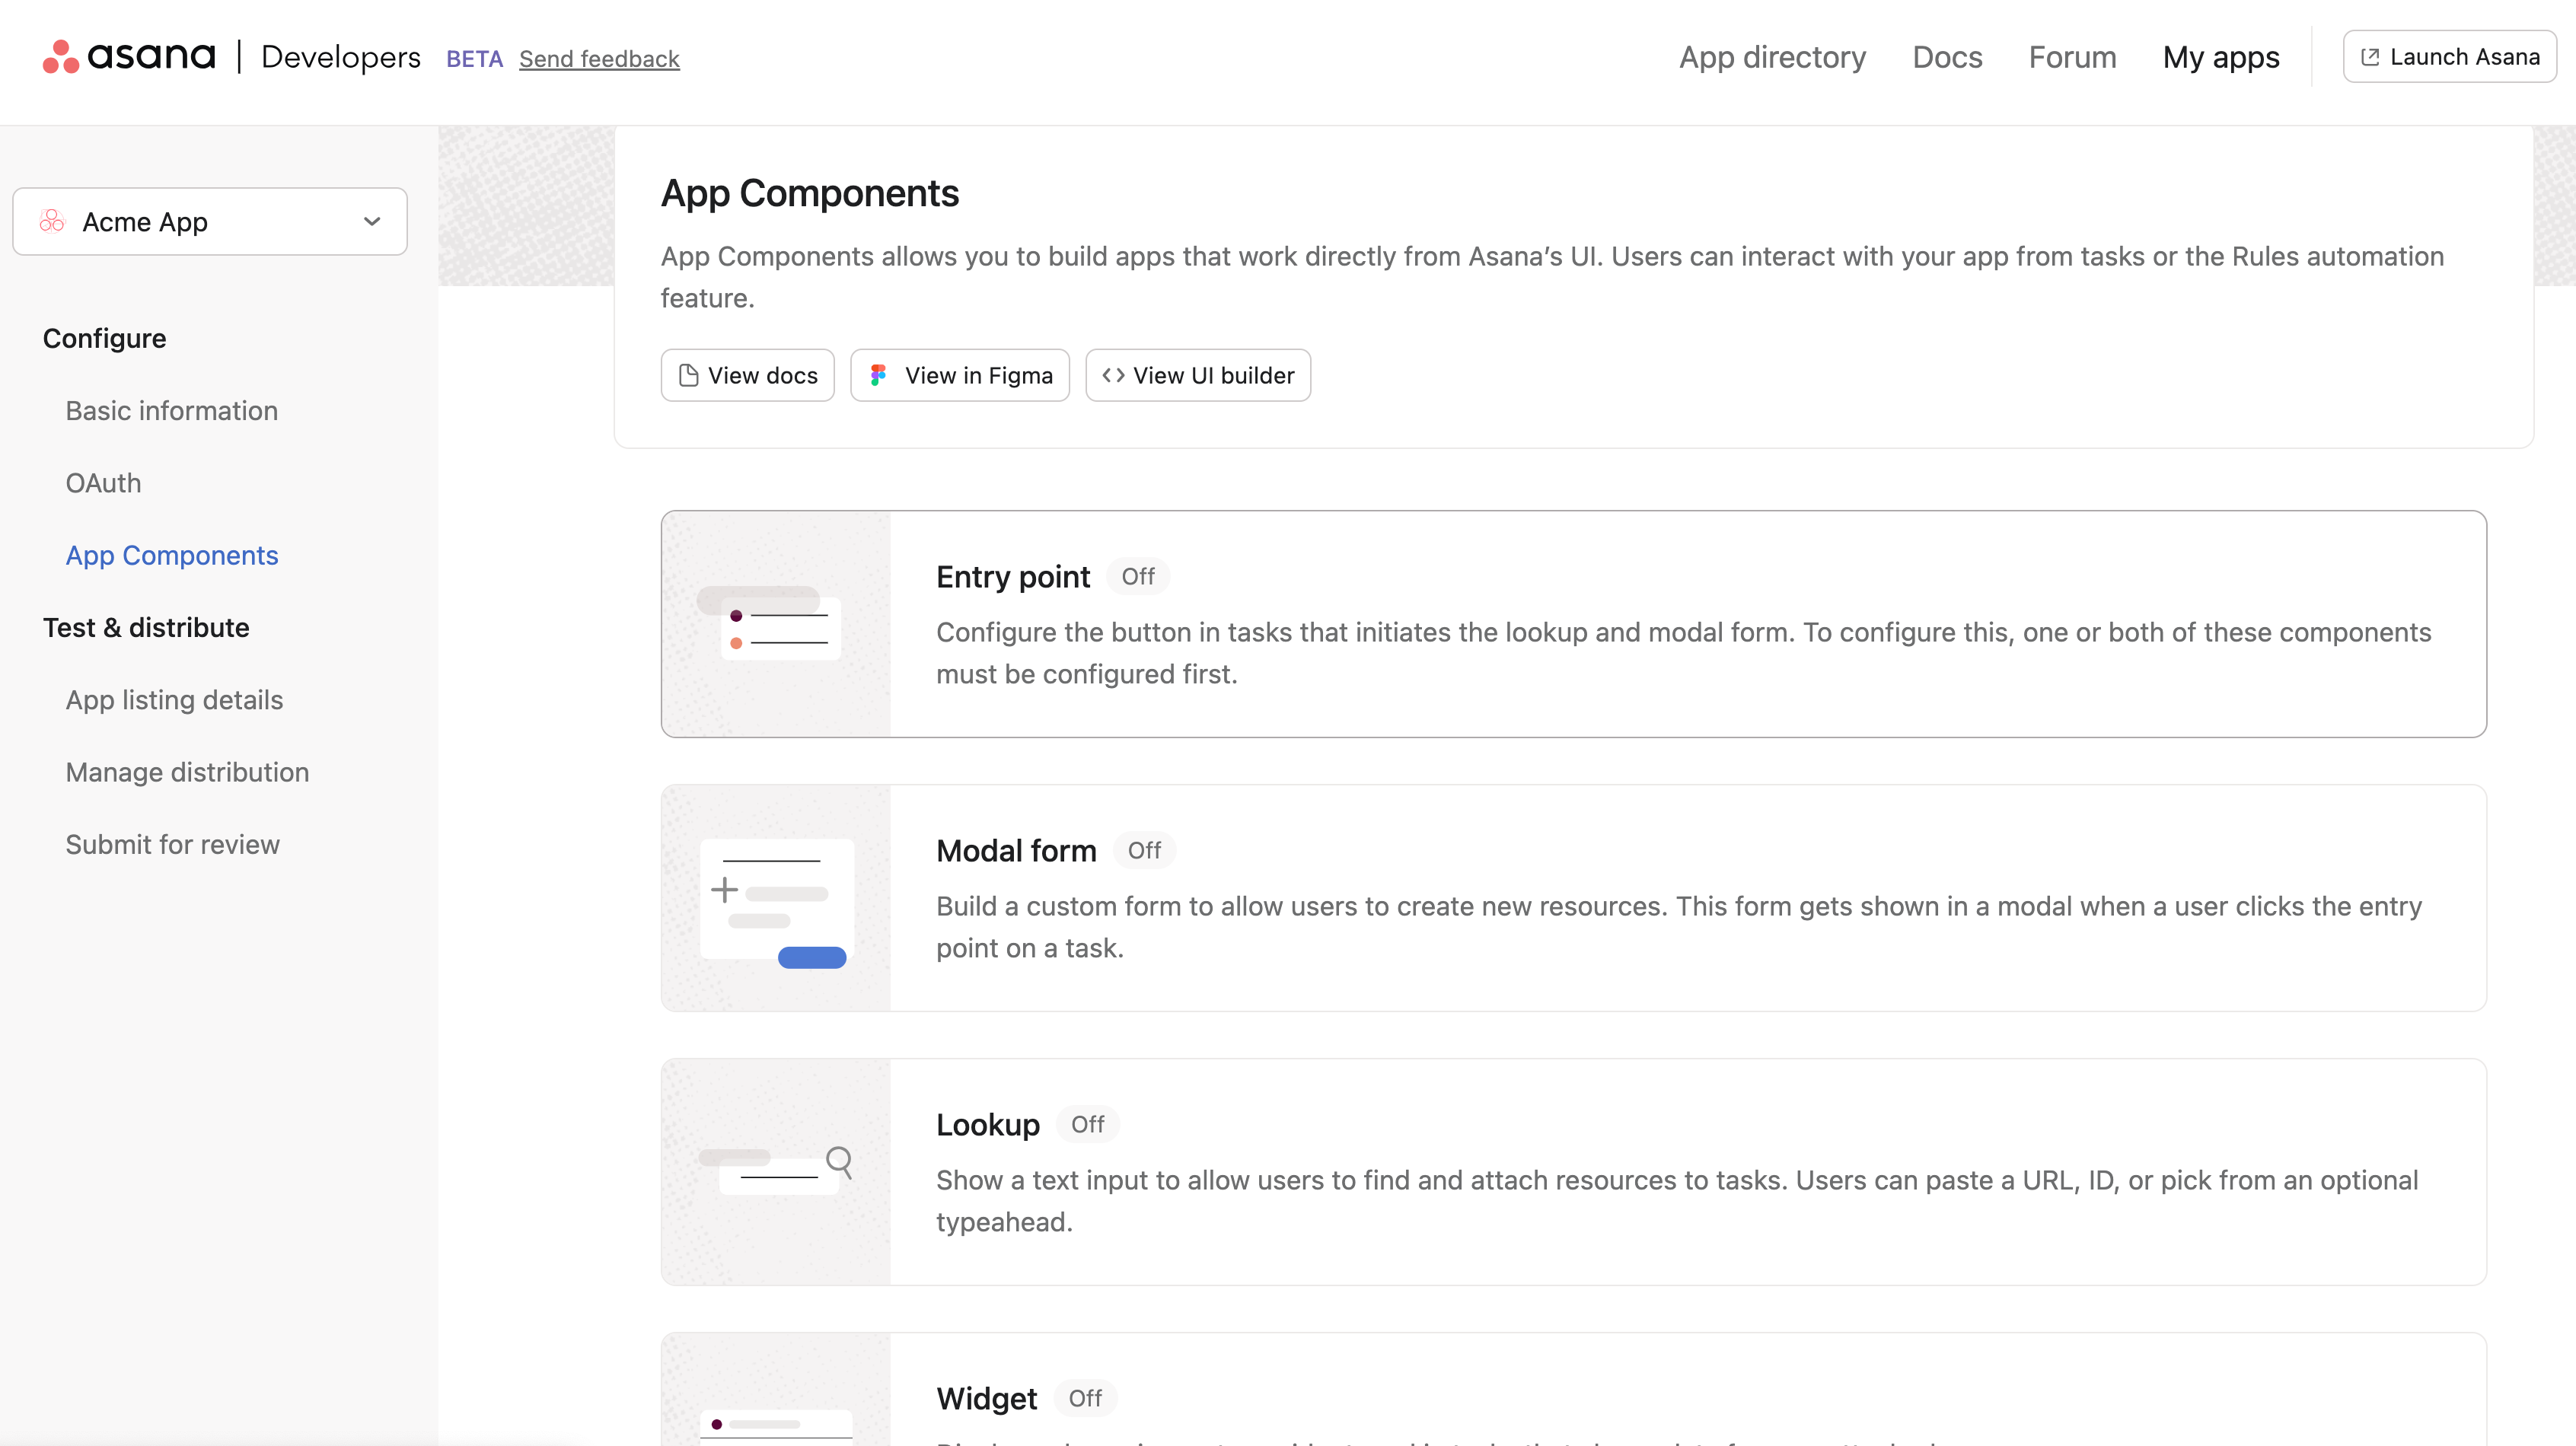
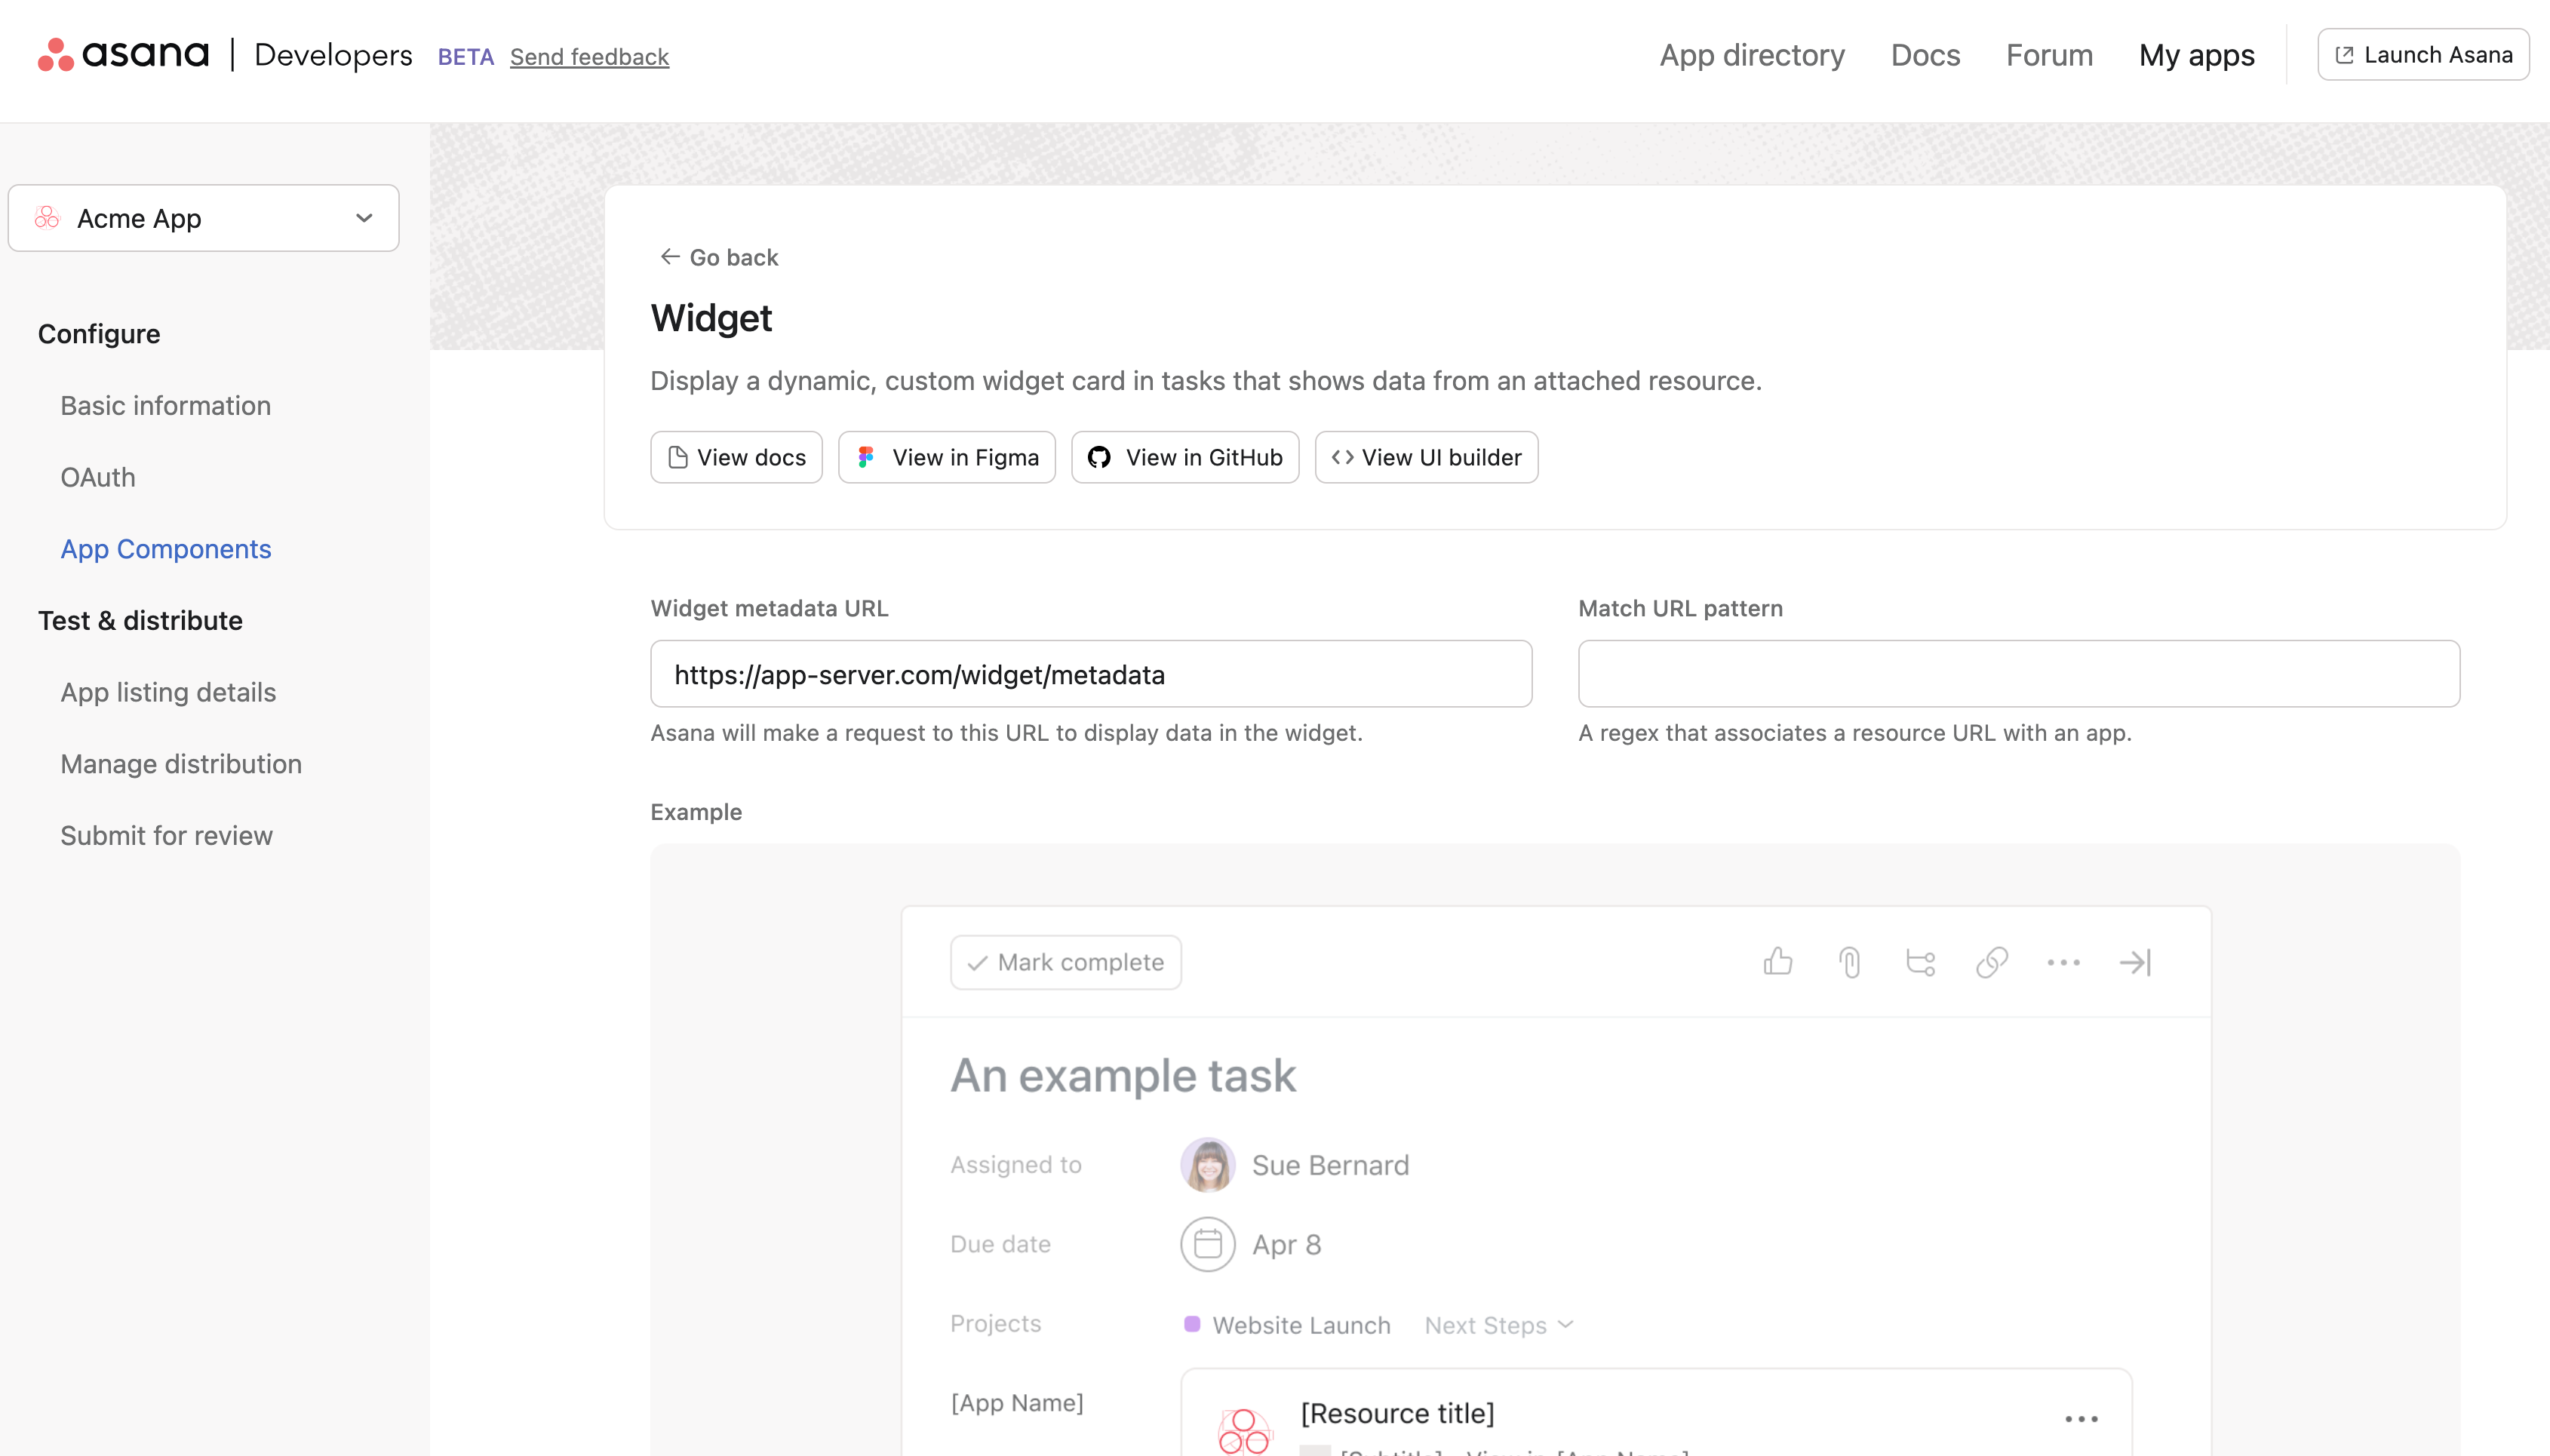
For configuration details on each component type, visit app components on tasks or app components on rules.
4. Set up OAuth for users to authorize the app
OAuth is required for apps that wish to be published to Asana's App Directory.
The Asana platform needs confirmation from the app components app that authentication has completed successfully. When an app is added to a project, the user adding that app is sent to its Authentication URL (see the installation flow). The app may perform OAuth with Asana, OAuth with a different app, or both. For apps intended for multi-user usage, OAuth with Asana is required to securely determine the identity of the user performing the authorization. Otherwise, as long as the app confirms the flow was complete, Asana will successfully add the app to the project. This will allow requests to be sent to the app's predefined endpoints.
OAuth flowIf the app wants additional data from Asana or wants to make changes within Asana, the app should have the user complete an OAuth flow against Asana.
Keep in mind that this authorization provides the app server with a single user's auth token. Multiple users of Asana will view external resources attached by a user who has authenticated and send requests to the app server, but the server will likely only have the token for one user.
How it works
Under the hood, we carry this out by listening for a message from the authentication popup window containing the string "success". When we make a request to the app's Authentication URL, the browser opens a popup or "child" window and waits for it to respond with "success" using window.postMessage. The target window for this postMessage call should be the opener, accessible via window.opener.
Note that for security purposes, the origin of the event (which is added to the event by the browser) needs to match the root of the Authentication URL registered to the app. That is, the authentication success message must be initiated from the same origin that receives the authentication request. This is different from the value of targetOrigin in the window.opener.postMessage() call, which must be exactly "https://app.asana.com".
Example
An app might return this HTML in response to the Authentication URL request after the OAuth flow is completed:
<!DOCTYPE html>
<html lang="en">
  <head>
    <meta charset="UTF-8" />
    <title>You have successfully connected Asana to the app</title>
  </head>
  <body>
    Success!
    <script>
      window.opener.postMessage("success", "https://app.asana.com");
      window.close();
    </script>
  </body>
</html>
5. Install the app on an Asana project
For the end users, the installation flow can be triggered from the app gallery
The in-product app gallery. Users can access the app gallery by going into a project (in which they want to install an app), then navigating to Customize > + Add App.
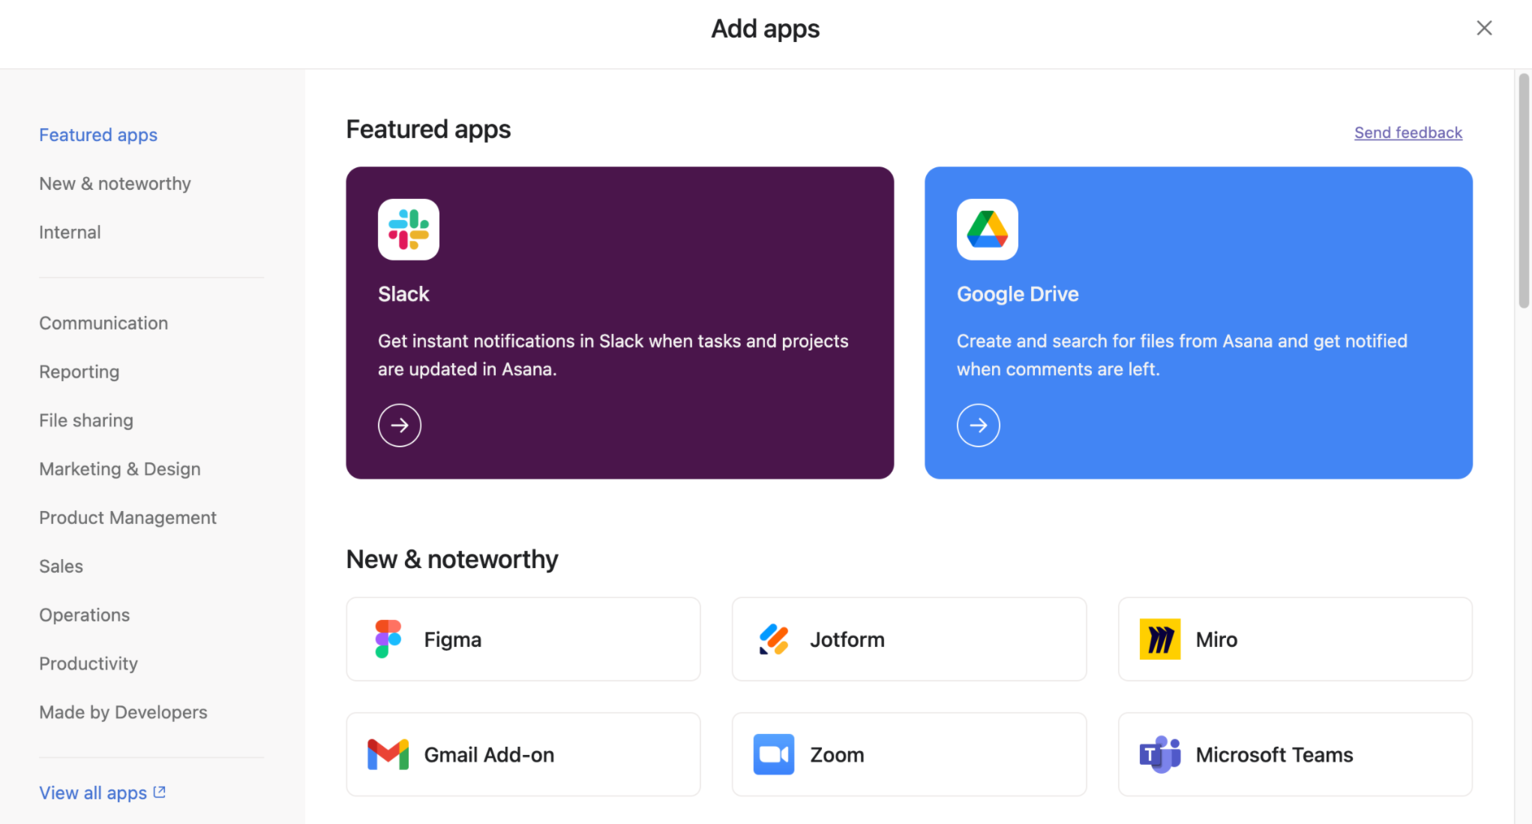
App gallery visibilityIf you intend for an app with app components to appear in the app gallery of a particular workspace, the app must first be installed. Installation occurs if either:
- The app gets added to a specific workspace
- The user authorizes and installs the app with a deep link (this must occur even if any workspace is chosen)
However, once the app is published to Asana's app directory, apps can also be installed directly from the app directory.
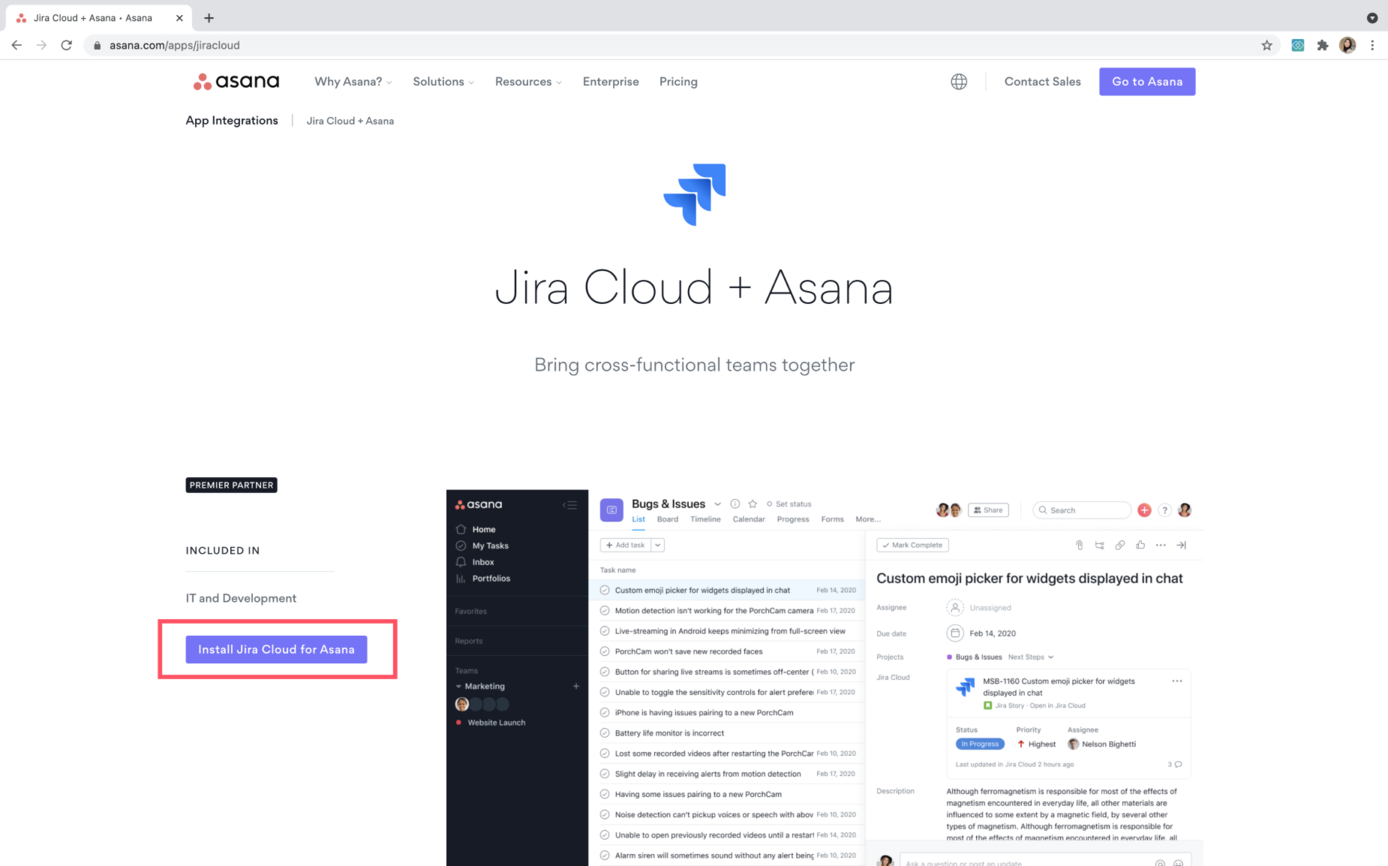
Note that subsequent interactions with the same application by the same user will not trigger the following installation flow. To force the installation flow in its entirety again (e.g., for QA purposes), you can visit https://app.asana.com/-/install_platform_ui_app?app_id=<app_client_id>, replacing the value of the app_id query parameter with the application's client ID.
App details
If the user installs the app via the in-product app gallery (i.e., the first scenario above), the user can see more details about the app:
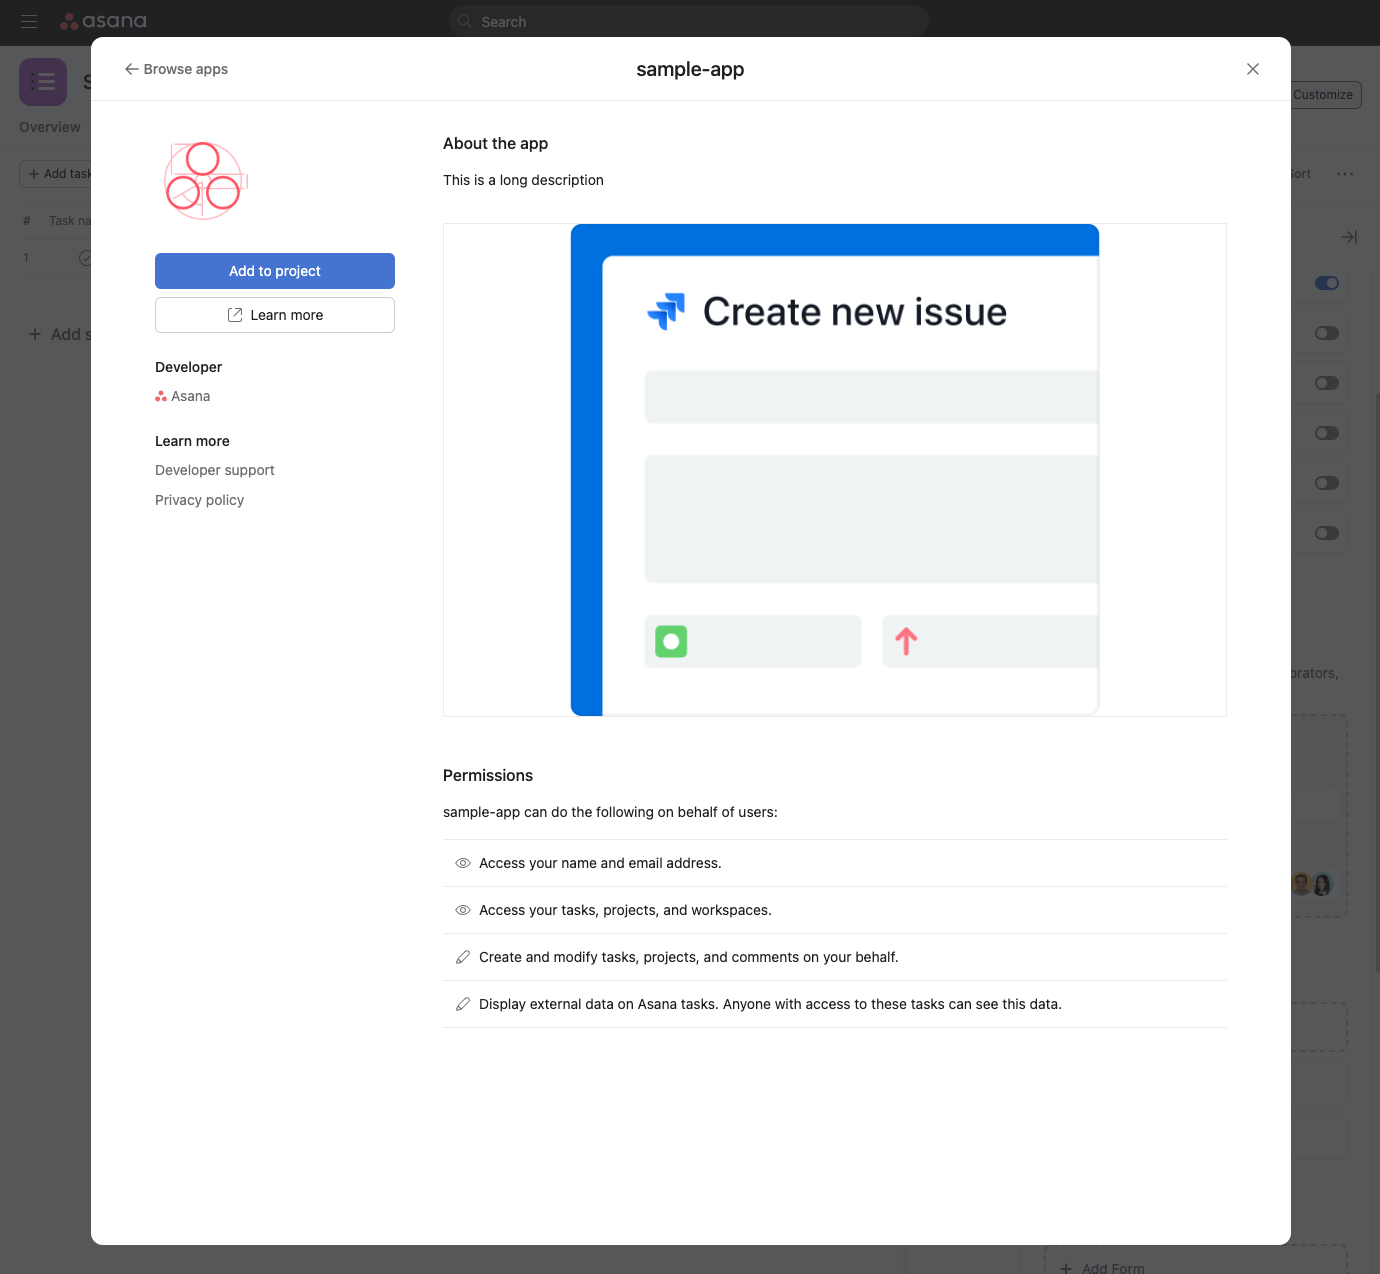
The information on this page can be customized in the App listing details tab of the developer console.
Authentication
On the next screen, the user will be directed to the auth screen, which will ask them to connect to the external app.
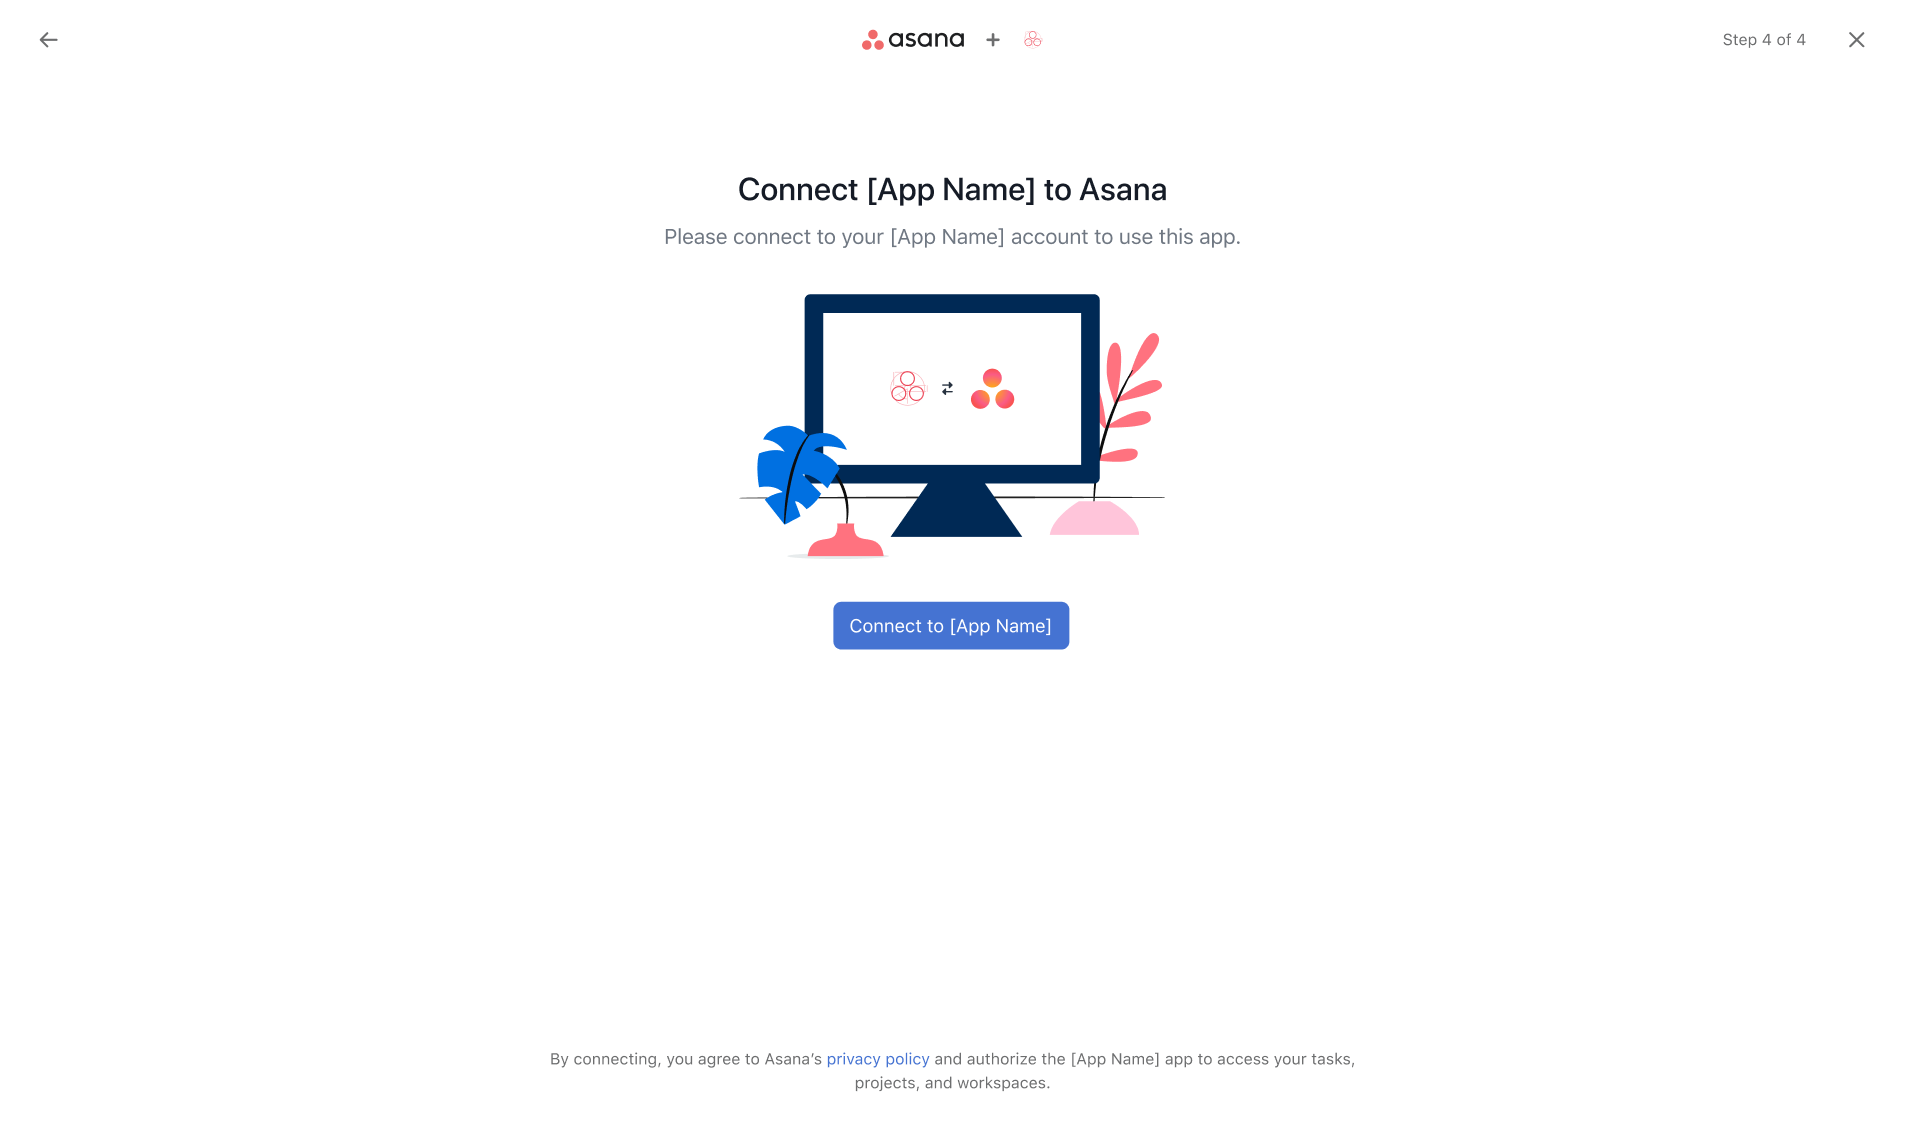
When the user clicks the button to continue, Asana will make a request to the application's specified Authentication URL in a pop-up window. From here, it is developer's discretion as to how the user proceeds with authentication. In most cases, this authentication step usually involves completing the Asana OAuth flow, as well as the third-party (i.e., external) OAuth flow.
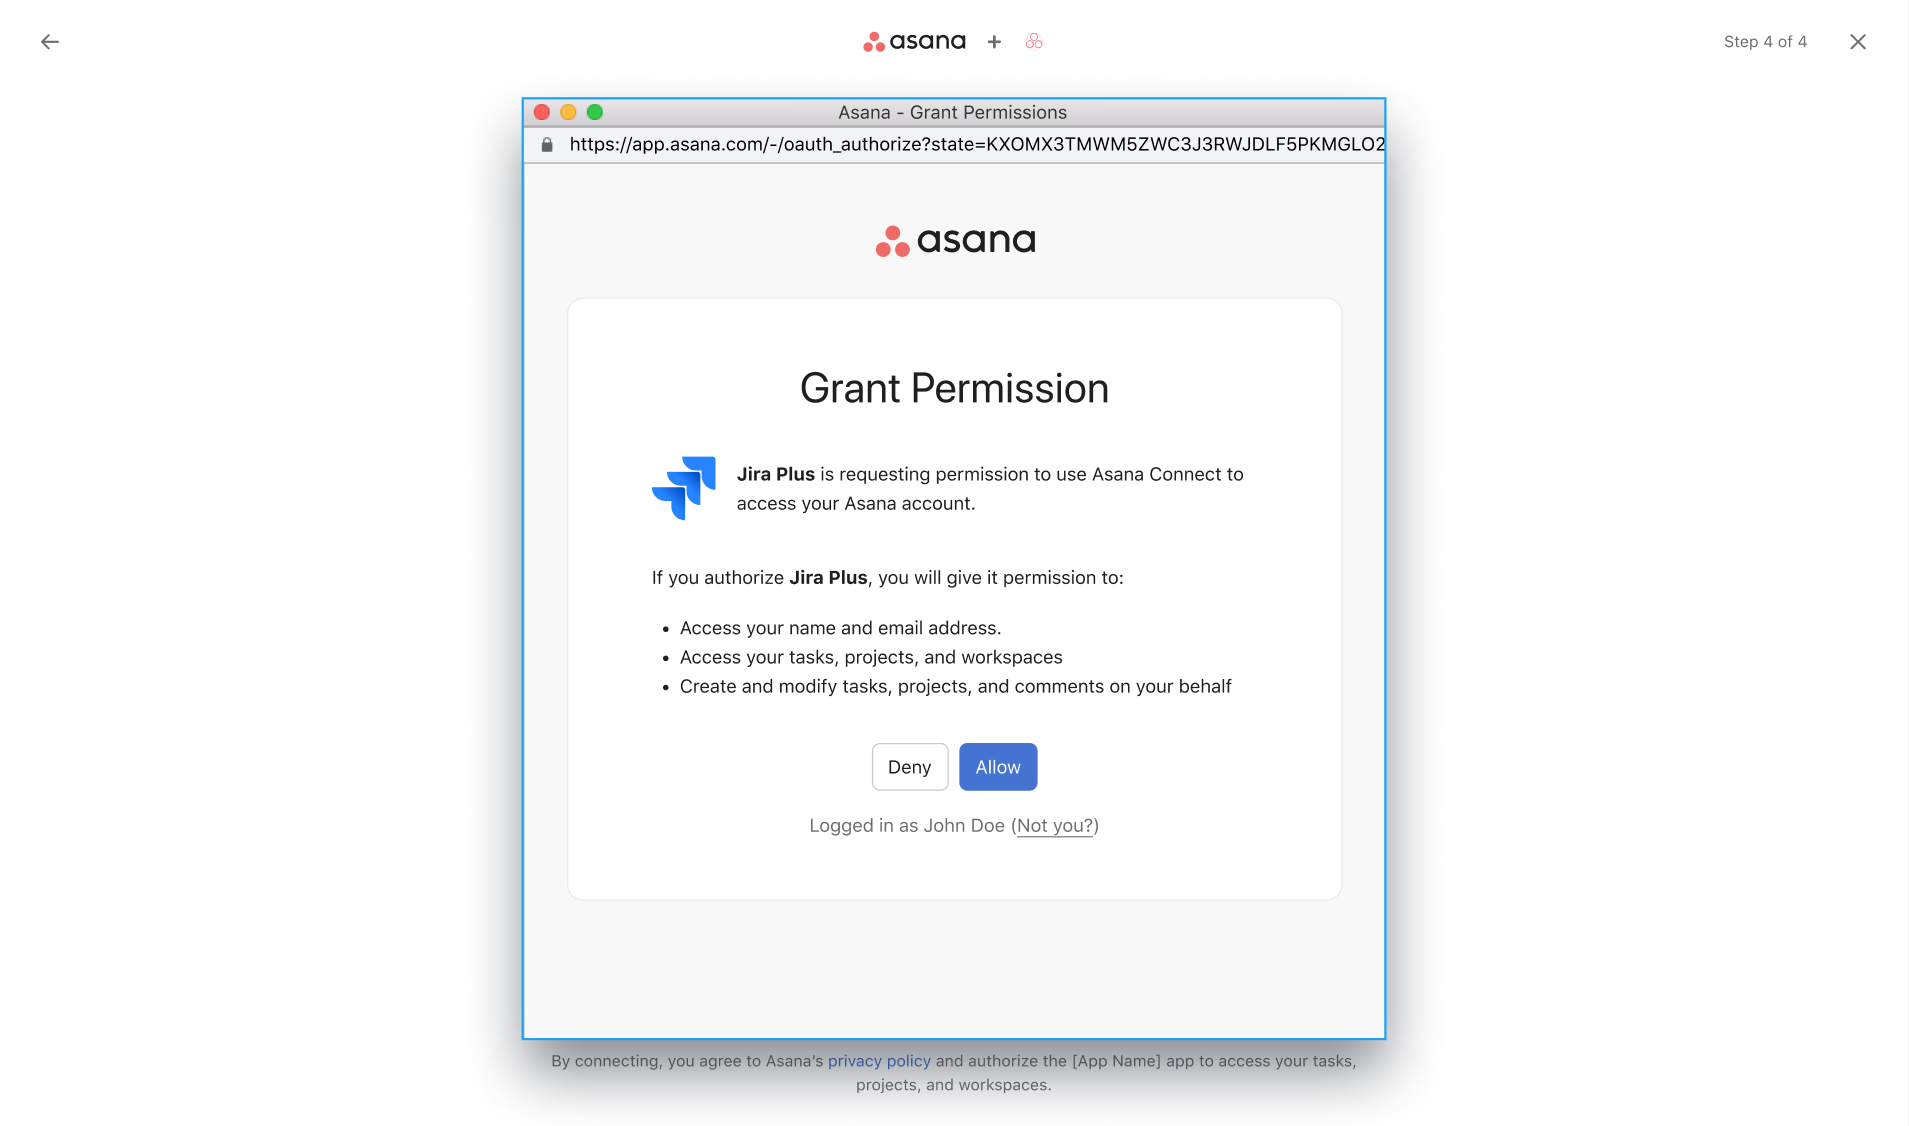
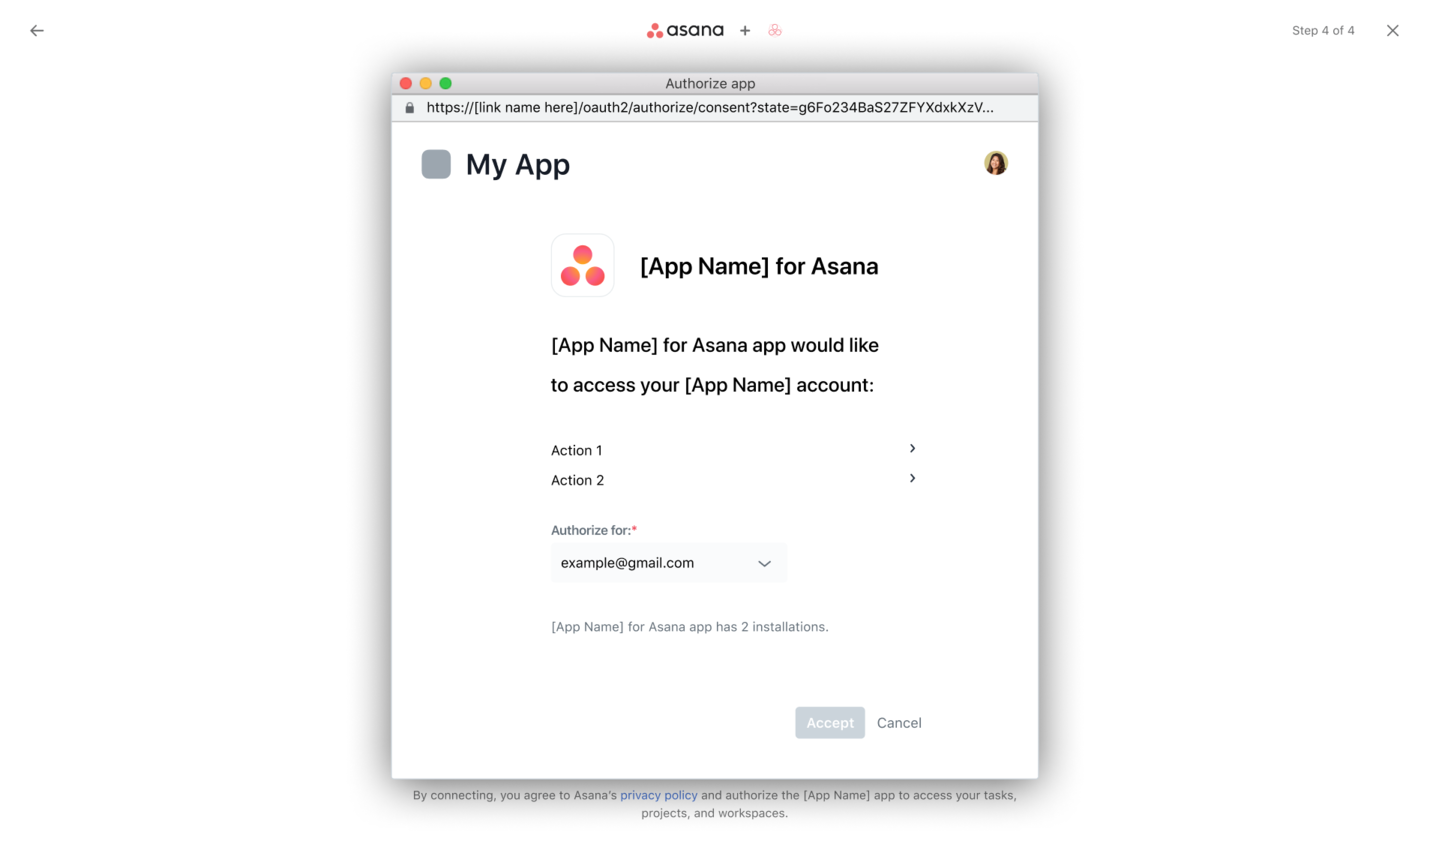
Additionally, you may choose to present custom screens, forms, or otherwise logic to prompt the user for additional information needed to set up the application.
The authentication flow is concluded when the app confirms that authentication is complete with a "success" message using window.postMessage. For more information, feel free to review authorization requirements when publishing an app.
Add to projects
Once the user has successfully granted permissions, they'll be taken to different screens depending on how they entered the installation flow:
- If the user began the installation flow from outside of a project (e.g., through the Asana app directory), the user will be shown an additional screen that prompts them to add the app to any necessary projects. This screen will not be shown otherwise.
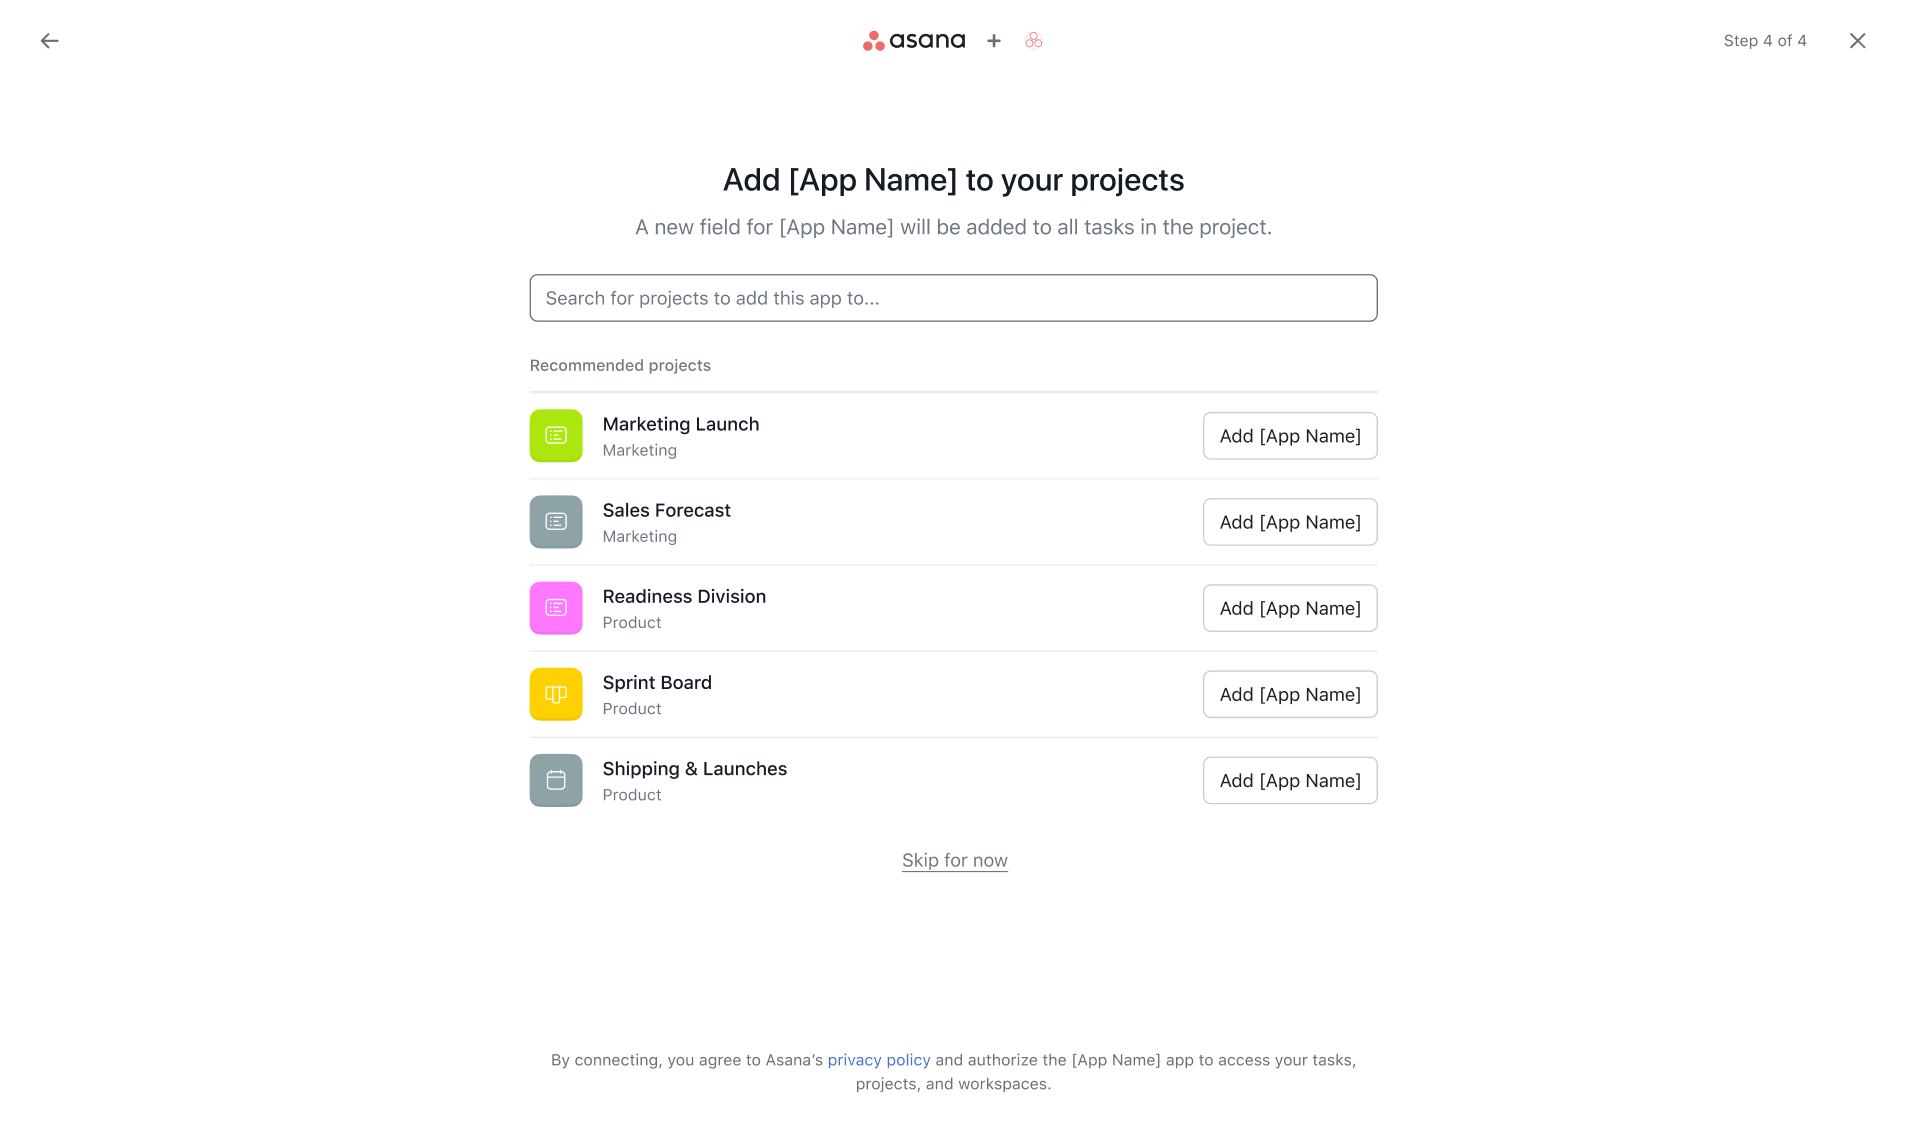
- If the user began the installation flow from within a project, the user will see a confirmation of the app they've added, and the installation flow will be completed.
6. Share the app with its intended audience
Apps can be shared privately with a specific workspace or published to the Asana App Directory. Read about how to manage distribution and get your app ready to submit to the Asana App Directory.
Updated 5 months ago